Freshly frosted gluten-free pumpkin bars with a secret ingredient.
Turning, Turning, To Simple Gifts
Tuning in to the particular (and fleeting) pleasures of each changing season as we ride the wheel of the year may be my favorite spiritual practice. A practice that requires one simple thing. Attention. Which turns out to be not so simple, inevitably. Because life is anything but simple, with its whitewater rush of mind numbing distractions that demand less and less of our soul and more and more of our mental focus on exterior minutia. Micro decisions. Cleaning out our email in-box. Catching up with Facebook feeds and Twitter streams and Google+. Texting about grocery lists. Scanning streaming video options for one decent romantic comedy (I have- on too many occasions to count- spent a full hour gaping, borderline comatose, at an LCD screen, scrolling title after title, only to arrive at the sane conclusion that you know what? I'd rather read a book). Thousands (millions?) of choices may glitter and ooze their high definition glow but I find I am not feeling the abundance.
I am less and less enamored with more.
I know. It's showing. My age. My childhood brain was wired for mud and bird calls, blackberry thickets and butterscotch pine. Hours spent reading in a grove of birch trees dug their neural groove. The wild luxuries of inner connection, rather than social networking. And TIME. That plastic, misunderstood, precious commodity that shape-shifts experience from an endless afternoon of liquid daylight into a heart clutching warp speed tumble of confusion. Decades become tiny sandwiches of memory you can barely taste anymore.
Weeks blink by with alarming velocity.
And here we are again.
In pumpkin season.
And so. I stop. And notice the way the late day sun drops low and shimmers golden in the treeline. The crows are gathering earlier. Glossy black and strutting with authority. The smell of burnished leaves scuttling across a wet Cape sidewalk is the same smell I inhaled on a road trip in Vermont fifteen years ago, standing on a wooden bridge above a clear shallow creek while our sons balanced on the slick rocks below us, fishing for smooth round stones.
Do they remember this? Do they remember the same hours I do, in the sand on Skaket Beach? Do they ever have a sudden itch to feed their senses with the scents and sounds of a freshwater riverbed, a sun warmed tide pool? Do they crave a winding path through apple trees? Were their brains hardwired for this connection, too?
I ponder this as I stir a new pumpkin batter.
And breathe in the scents of ginger and cinnamon, listening to the leafy rustle of an almond flour bag as I fold up the cellophane and pinch it closed with a clothespin.
I don't know about you but I love Peach Cobbler. And I love pie filling. And I love that this recipe uses both. I made a Blueberry Cobbler-Cake that was amazing. This is more on the cobbler side than cake side hence the cobbler in the name. I made it in a square Chinet Bakeware pan. You could double this and make it in a 9x13 pan. Stick around for a giveaway after the recipe.
Printable Version
Ingredients
1/4 C. butter
1 C. flour
1/4 tsp. salt
1 C. sugar
1 1/2 tsp. baking powder
3/4 C. milk
1 can peach pie filling or other filling of your choice
Directions
Place butter in an 8x8 square baking dish.
Place in the oven and turn oven to 350 degrees; let butter melt in the dish.
Beat together the flour, salt, sugar, baking powder and milk.
Remove dish with the melted butter; spread the batter in the dish.
Pour pie filling over the batter.
Bake for 1 hour or until done. You may need to cover with foil after 45 minutes so it doesn't brown too much.
Let cool for 5 minutes before serving.
I love my Chinet Bakeware pans. You can take them from oven to table to freezer to microwave all in one sturdy pan. They are sturdier than the aluminum pans. More attractive, too. They are made in the USA of 90% recycled material.
Make this Lazy Day Cobbler for your next PTA meeting or Bunco game night. It's perfect with a dollop of whipped cream of scoop of vanilla ice cream.
I went to a doTERRA Oil party once and the hostess served this cake made with Peppermint oil. I loved it. You could eat it in your hand like a brownie, but it was a cake. It also had Peppermint Whipped Cream on it. So amazing. I love it in the winter because of the Peppermint, but it's also good any time of the year.
drop of Peppermint oil or 1 tsp. Peppermint extract
Whipped Cream
Directions
Mix the cake mix, eggs and butter together.
Pour into a greased 9x13 or 8x8 cake pan.
Bake according to box directions. If using an 8x8, bake for 30 minutes.
Allow to cool and top with whipped cream. You can flavor it by dipping a toothpick into the peppermint oil and swirling it through the cream. Or add about 1/4 tsp peppermint extract to it to taste.
I made this in an 8x8 Chinet Bakeware pan. I love that it doesn't stick. And the handy lid makes it easy to cover and save for later.
And as always, I have to have a middle piece!
Chinet Bakeware makes it so easy to take food anywhere. How about a book club? Or maybe to work to share?
It was so hard to let this cake cool before cutting into it.
Why is it when I bake a coffee cake I get all dreamy and gooey inside, like a knee-socked school girl in Latin class, riveted to the patch of peachy, fuzzy cloud against the swaying swatch of blue between the maple tree branches outside the classroom window, imagining love itself is out there, waiting, breathing, just beyond reach, ready to pounce. Like grace. When you least expect it, a gift arrives. Often in a form you don't recognize at first.
Like a plaid shirt.
And hands that juggle.
The truth is, I didn't even know juggling was on my list.
My top criteria (scrawled in gel black ink one rainy night post divorce) listed kindness, a sense of humor, artistic.
It conjured images of tempered masculinity. Intelligence. Adept at conversation. Curiosity.
Likes women (a big one).
It mentioned nothing about juggling. Or fierce devotion to coffee. Or a willingness to wash dishes. It neglected to include the seductive power of coffee cake. The sexy allure of a cinnamon dusted chin.
So imagine my surprise when on our second date (post French roast coffee and dirt bomb muffins) he grabs three apples. And juggles. While whistling. I can't remember the tune.
Because my knees turned to pudding.
And now, almost twenty years later, I hear a key in the door. And my heart is grateful. It's him. The guy in a plaid shirt.
I found this recipe on Tidy Mom and had to try it. To me it just made a boxed cake mix very light and fluffy. Too light for me. I actually prefer the regular box version. These were delicious but so light that I felt like I had to eat more to even know I had any. I will just stick to the directions on the box next time, but it's fun to try new ideas. See what you think.
From the L.A. archives- a personal favorite you may have missed... Remember those maple sweetened almond zucchini mini-muffins? I do. They've become one of our favorite grab-and-go gluten-free treats. I tuck a bag of them- fresh out of the freezer- into my bulging purseknapsackbeach bag tote whenever we venture far afield. Like. The Valley. Because, well. You never know. It can get crazy. In L.A. you might end up jammed on the 405. Stuck as in four lanes = a parking lot stuck. Stuck as in, Dude that's my hunger growling louder than Kurt Cobain's rasp on the rattling radio speaker pleading, What else could I be? All apologies.
I know this from experience. I learned the hard way (the way I learn most things in life). Driving in L.A. can lead to stop-n-go squatting in the baking sun. And a where is my nail file and why did I leave the apartment without food and water and ice in a cooler panic. Because the thirty-three minutes it took yesterday to get to Studio City is seventy-five minutes today.
That's when I started imagining a zucchini cake.
For breakfast.
On the 405.
Heading north (allegedly). To sign a lease. On a new apartment with an ample well planned kitchen and an open living room with a fireplace. And two balconies- one sunny for growing herbs, one shady in the afternoon, facing a quiet leafy green street lined with lavender gardens and rose bushes and honeysuckle and song birds.
We'll be moving in two weeks.
Your intrepid Gluten-Free Goddess has some packing to do.
Kha-Nom Sa Li or Thai Steamed Egg Cake is one of the auspicious sweets of Thailand, we believed that make life flourished and multiplied. We most use in ceremony. Texture of the pastry is light and fluffy and sweet aroma. Kha-Nom Sa Lee texture like sponge cake, the flavor is not too sweet and it is very solf.
I am a monthly contributor over at Made From Pinterest. Be sure to go check out my recent post here. In return, I am happy to have the ladies from Made From Pinterest here each month. Enough talk, here they are...
Hello! Debbie, Sherri and I are tickled to be here with you every month.
We are three sisters who make and create the things that we pin from Pinterest and then share our results with you! Some of the pins we make "Rock" and some of them are a "Flop". Our blog helps us to actually make and enjoy what we find on Pinterest, but it also helps us stay in touch with each other. We all live in different parts of the United States. We love that we can work together even though we live far apart. Besides blogging and Pinterest we love spending time together as a family whenever possible. Between the three of us we have 10 children, 2 grandchildren and another Grandchild due any day! On to our post from Tracy today.
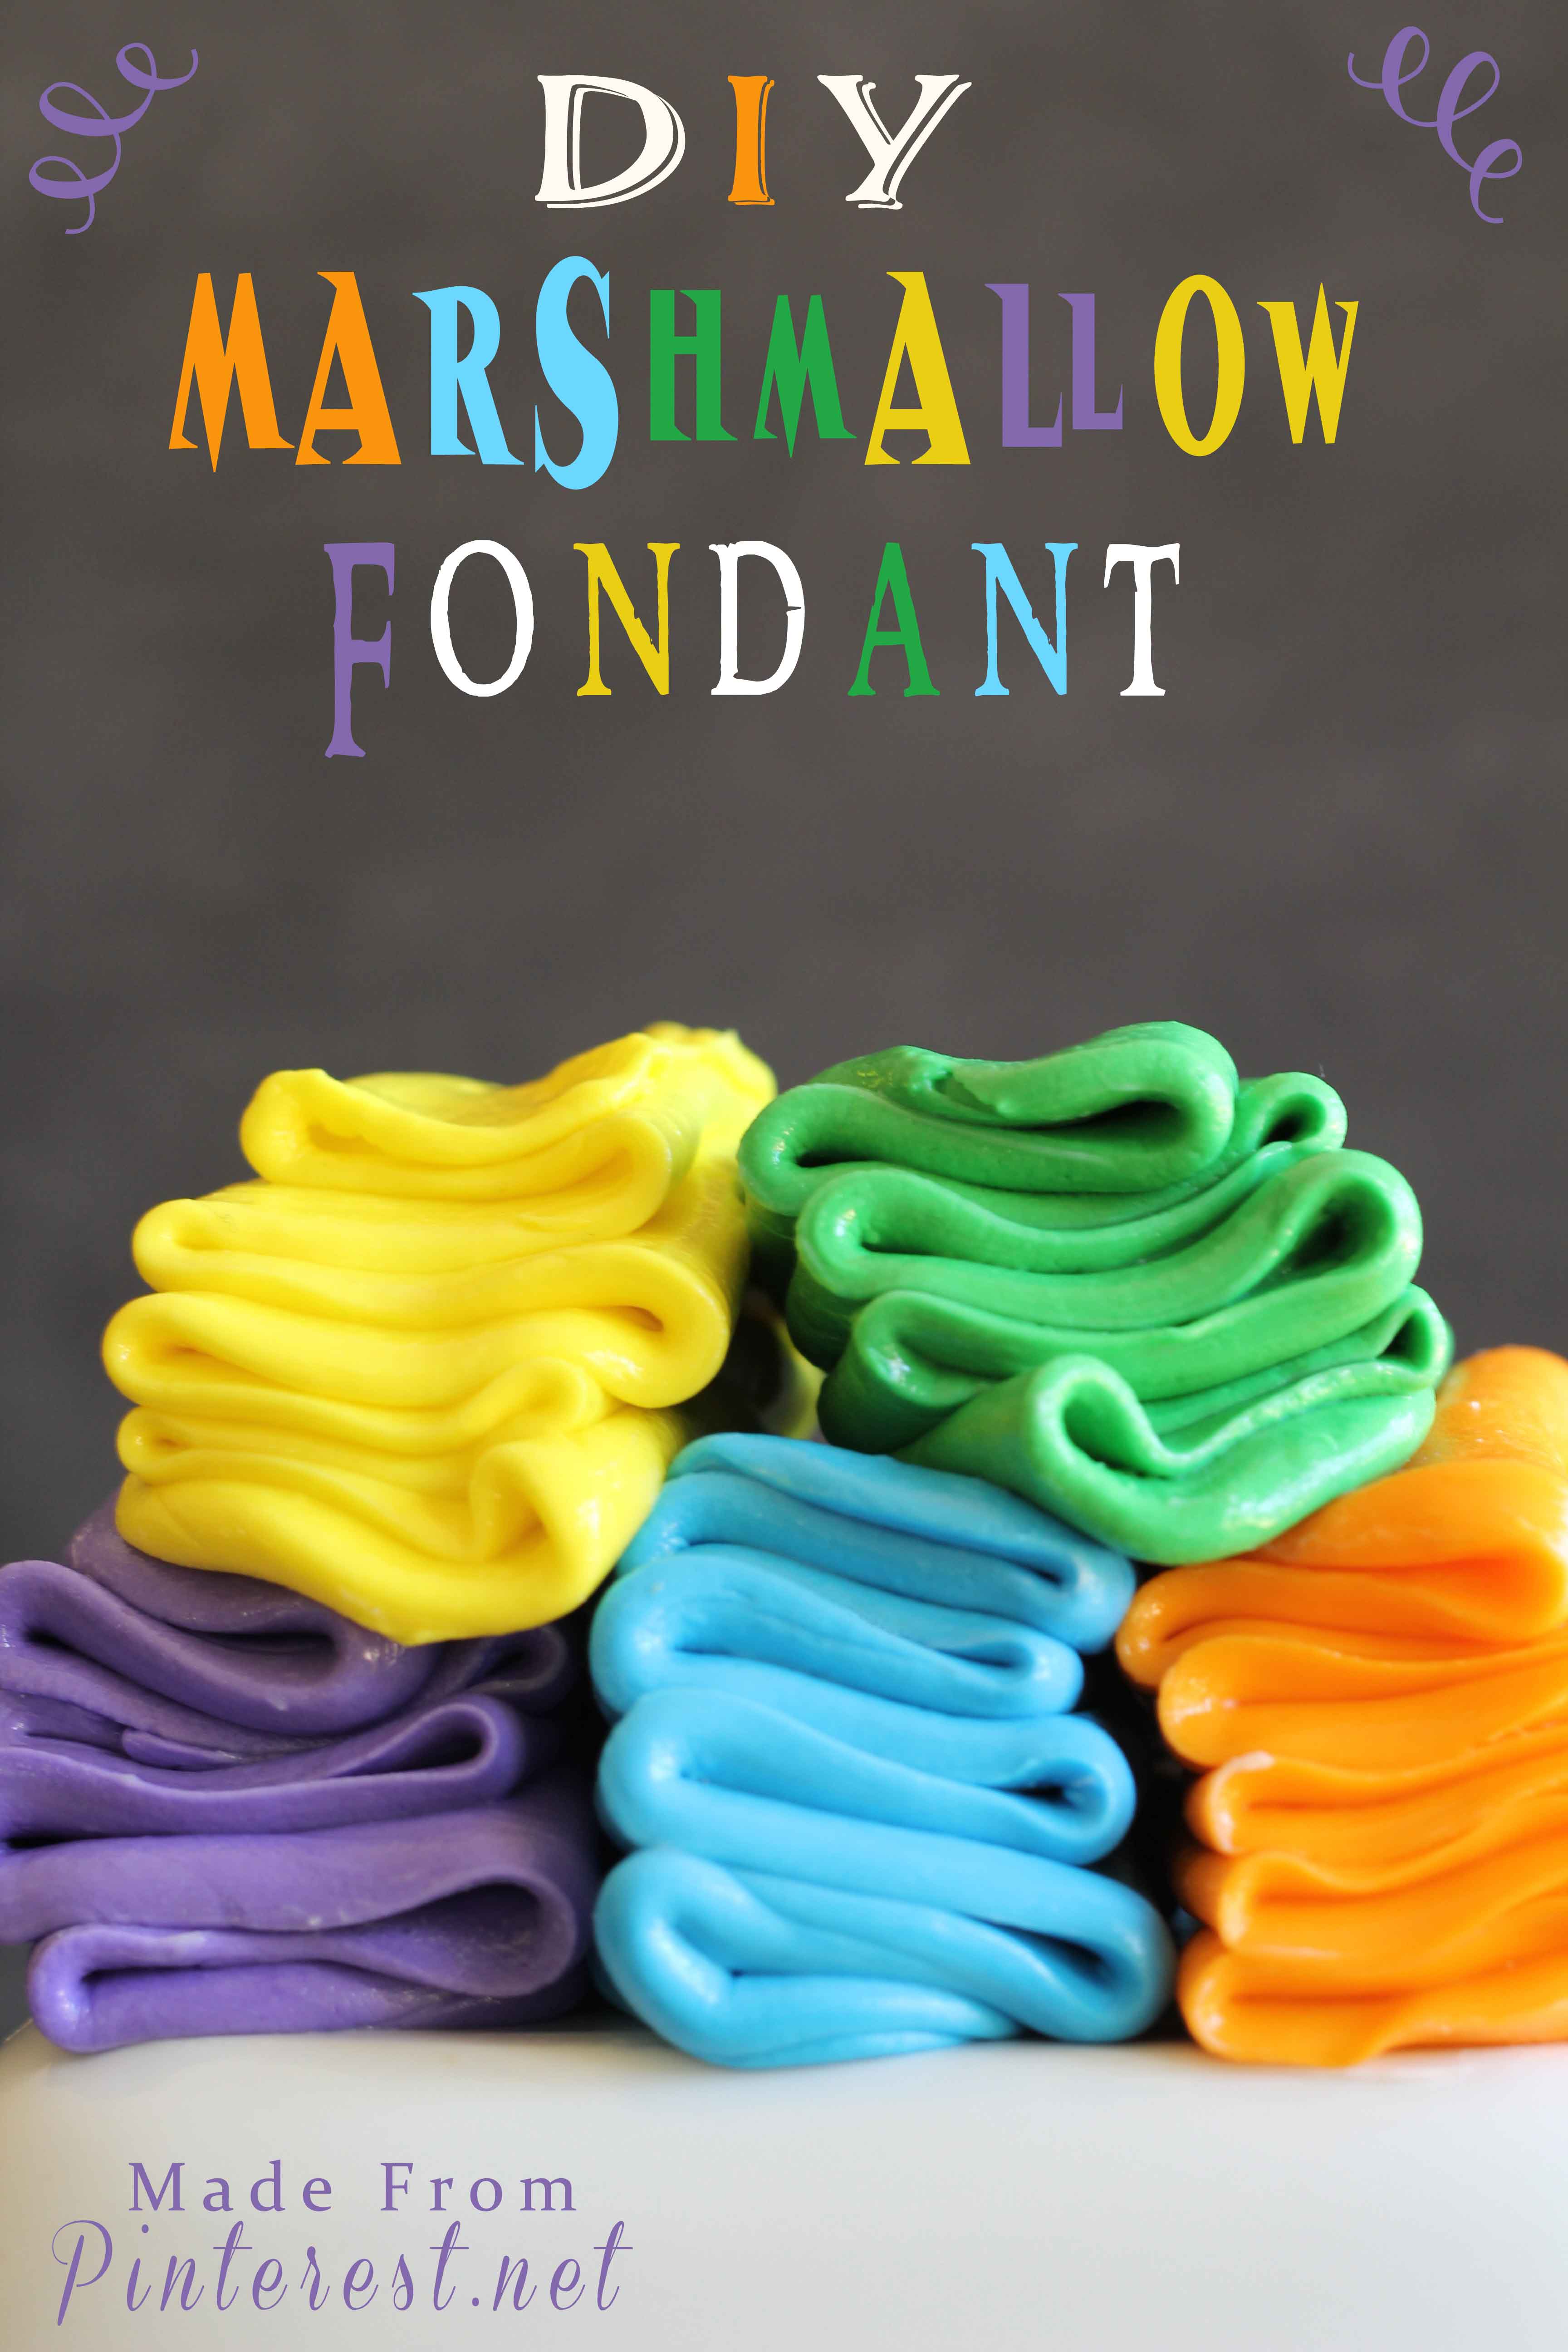
One of my families favorite shows happens to be Cake Boss. My 16 year old daughter is the one who got us started watching it during season 2. The only thing that she doesn't like about the show is how everyone on the show pronounces the word fondant. According to my daughter and Merriam-Webster it is pronounced "fond" (like I am fond of you) and "ant" like the bug. The show pronounces it "fond-daunt". My daughter pronounces it fondent. As long as it looks and tastes good I don't care how you pronounce it! My first try working with fondant was a sheet I purchased at Michaels. It must have been close to the expiration date because it was dry and difficult to work with. I knew there had to be a better way. I found this marshmallow fondant from Traylor Made Treats and decided try the homemade route!
Ingredients
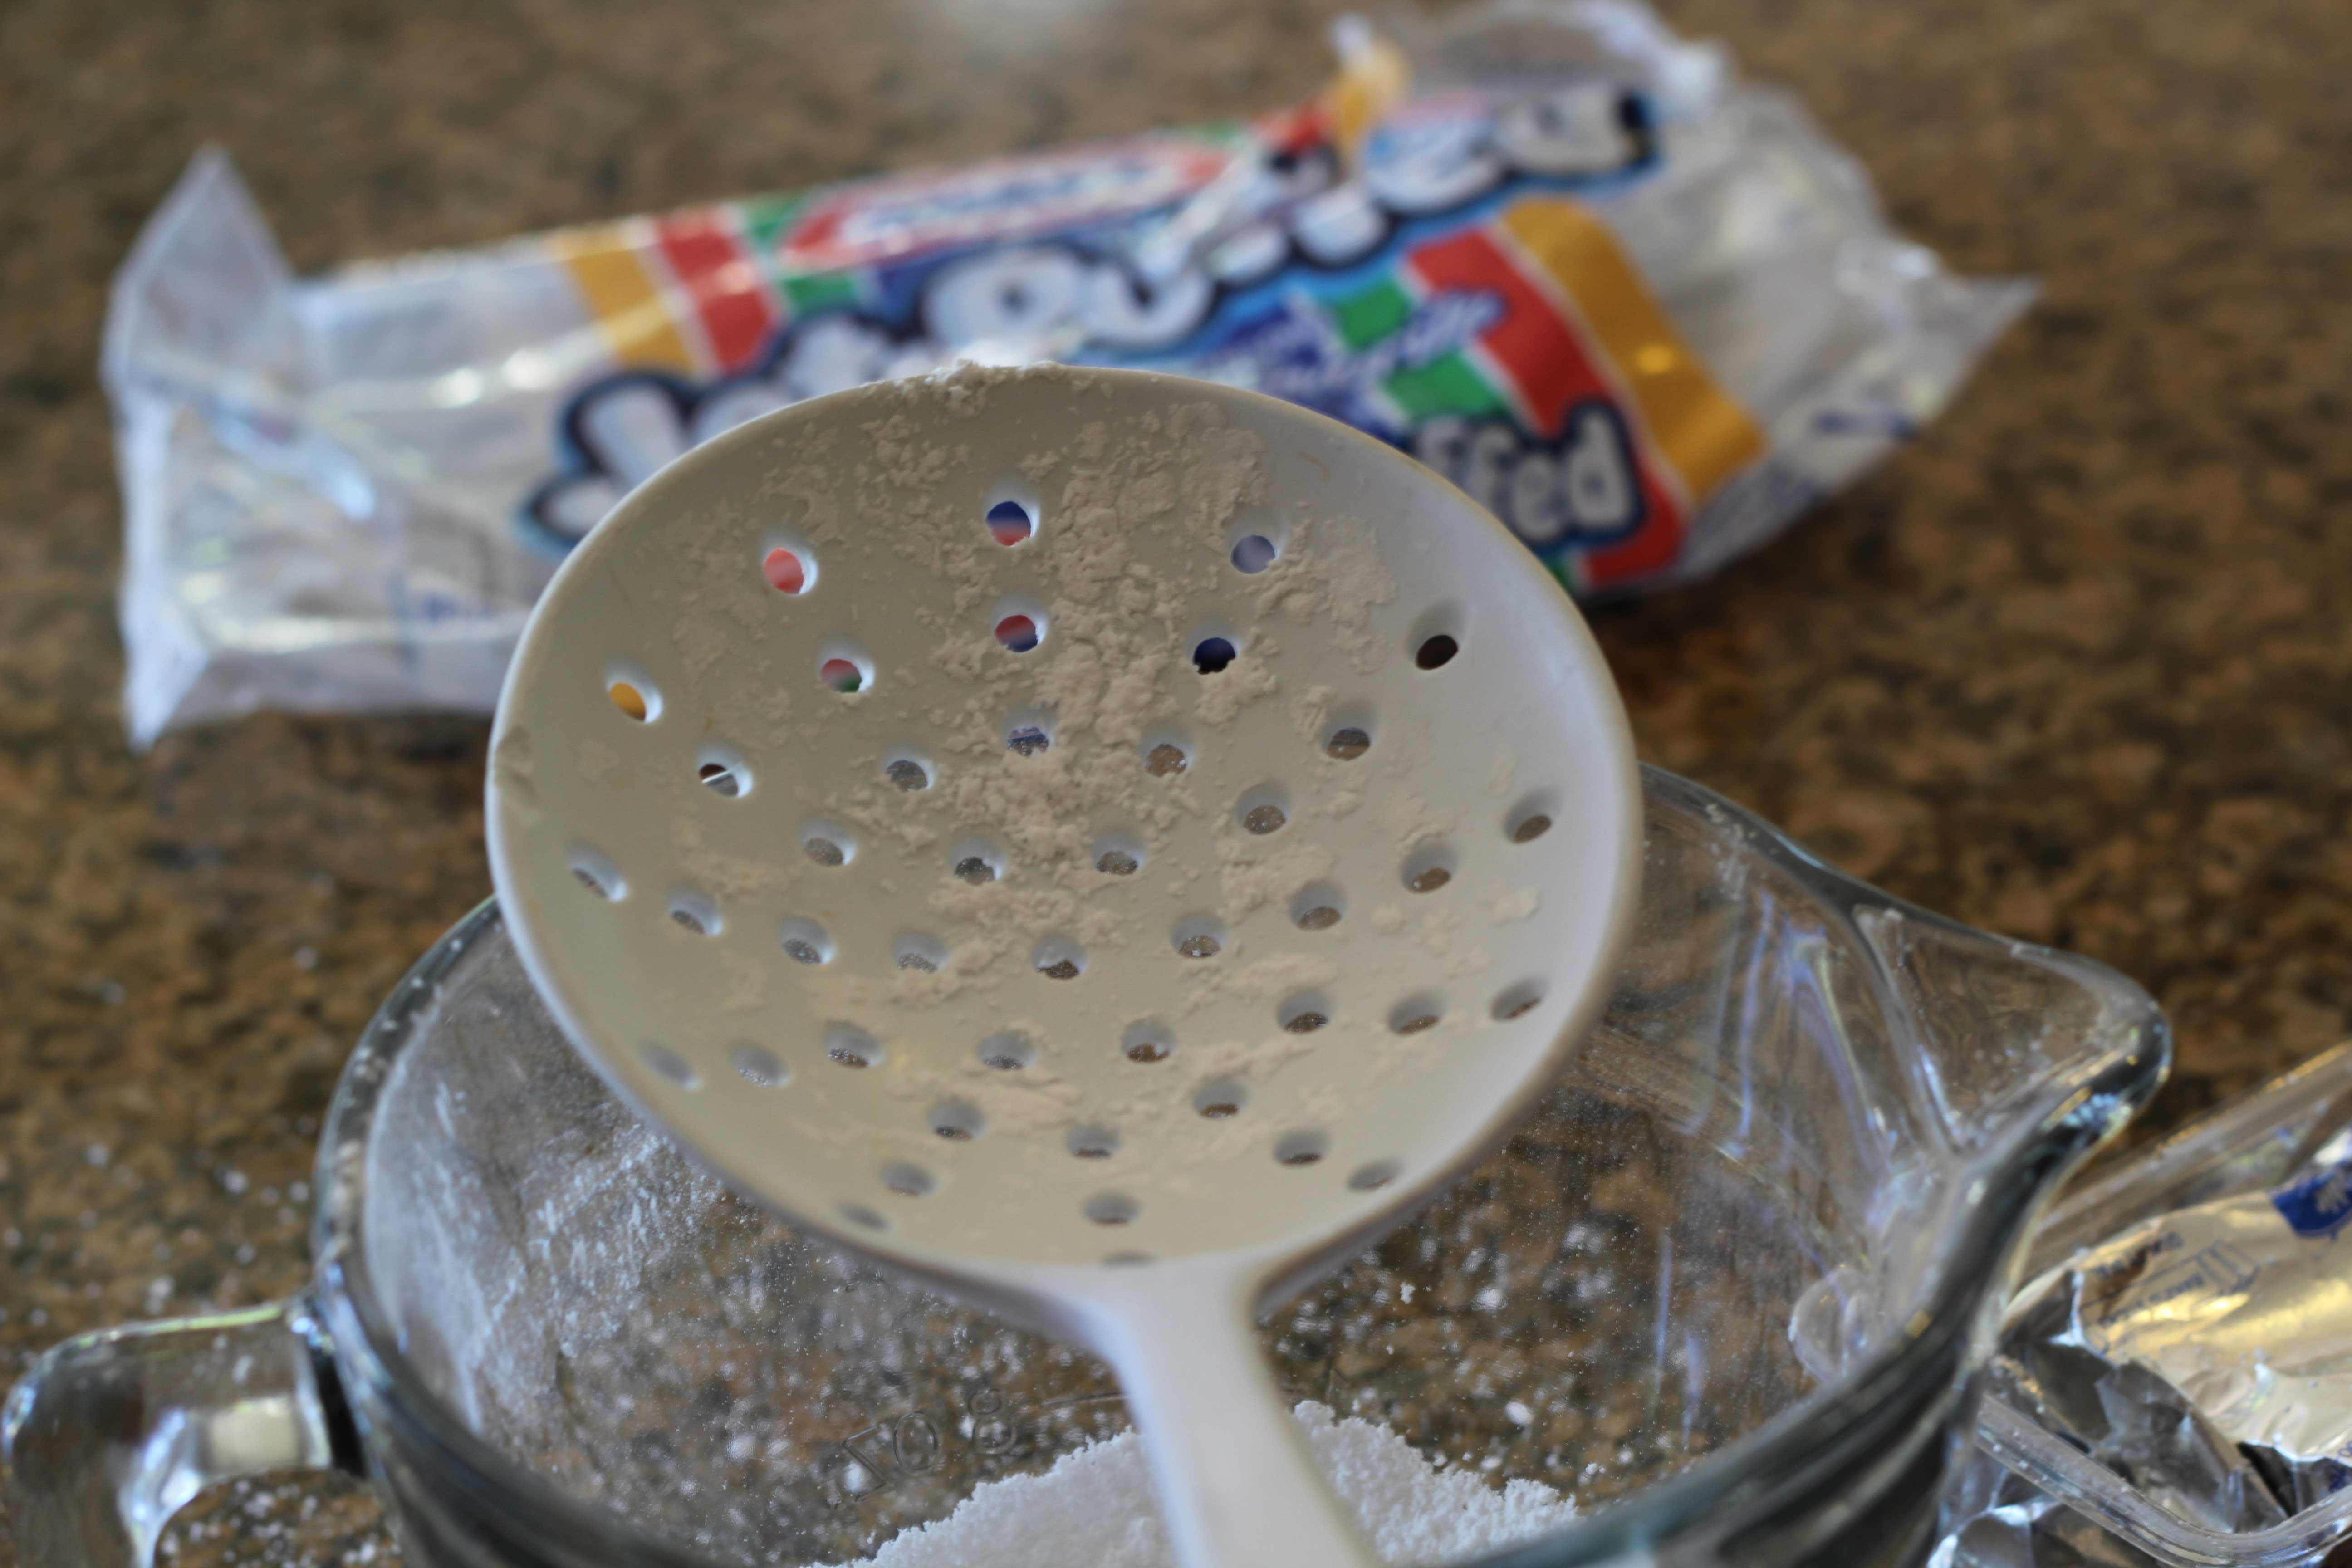
First you need to put 3 Tbsp. of shortening in your mixer. Second you need to sift your powdered sugar. As you can see I don't own a sifter, so I made do with this big pasta spoon and it worked just fine. This insures that your powdered sugar will not have lumps. If you do not sift the powdered sugar you will have a lumpy fondant.
Next step is to sprinkle 2 tsp of water on your marshmallows and mix until all your marshmallows have some water on them.
Now it is time to put the marshmallows in your microwave for 30 seconds at a time. Stir and then place them back in the microwave for another 30 seconds. Repeat this process until your marshmallows are melted. Once your marshmallows have melted, place them in the mixer with the shortening, add 1 cup sifted powdered sugar and mix on medium speed until the shortening and powdered sugar are incorporated. Keep mixing until the marshmallow mixture looks like icing: nice and soft (if you want to add color, you can do it now.). If you need to make multiple colors you can do it by hand kneading the color in later. Continue to add powdered sugar 1/2 cup at a time until it becomes thicker, but not too thick a consistency of fondant. It should be sticky, but not too sticky.
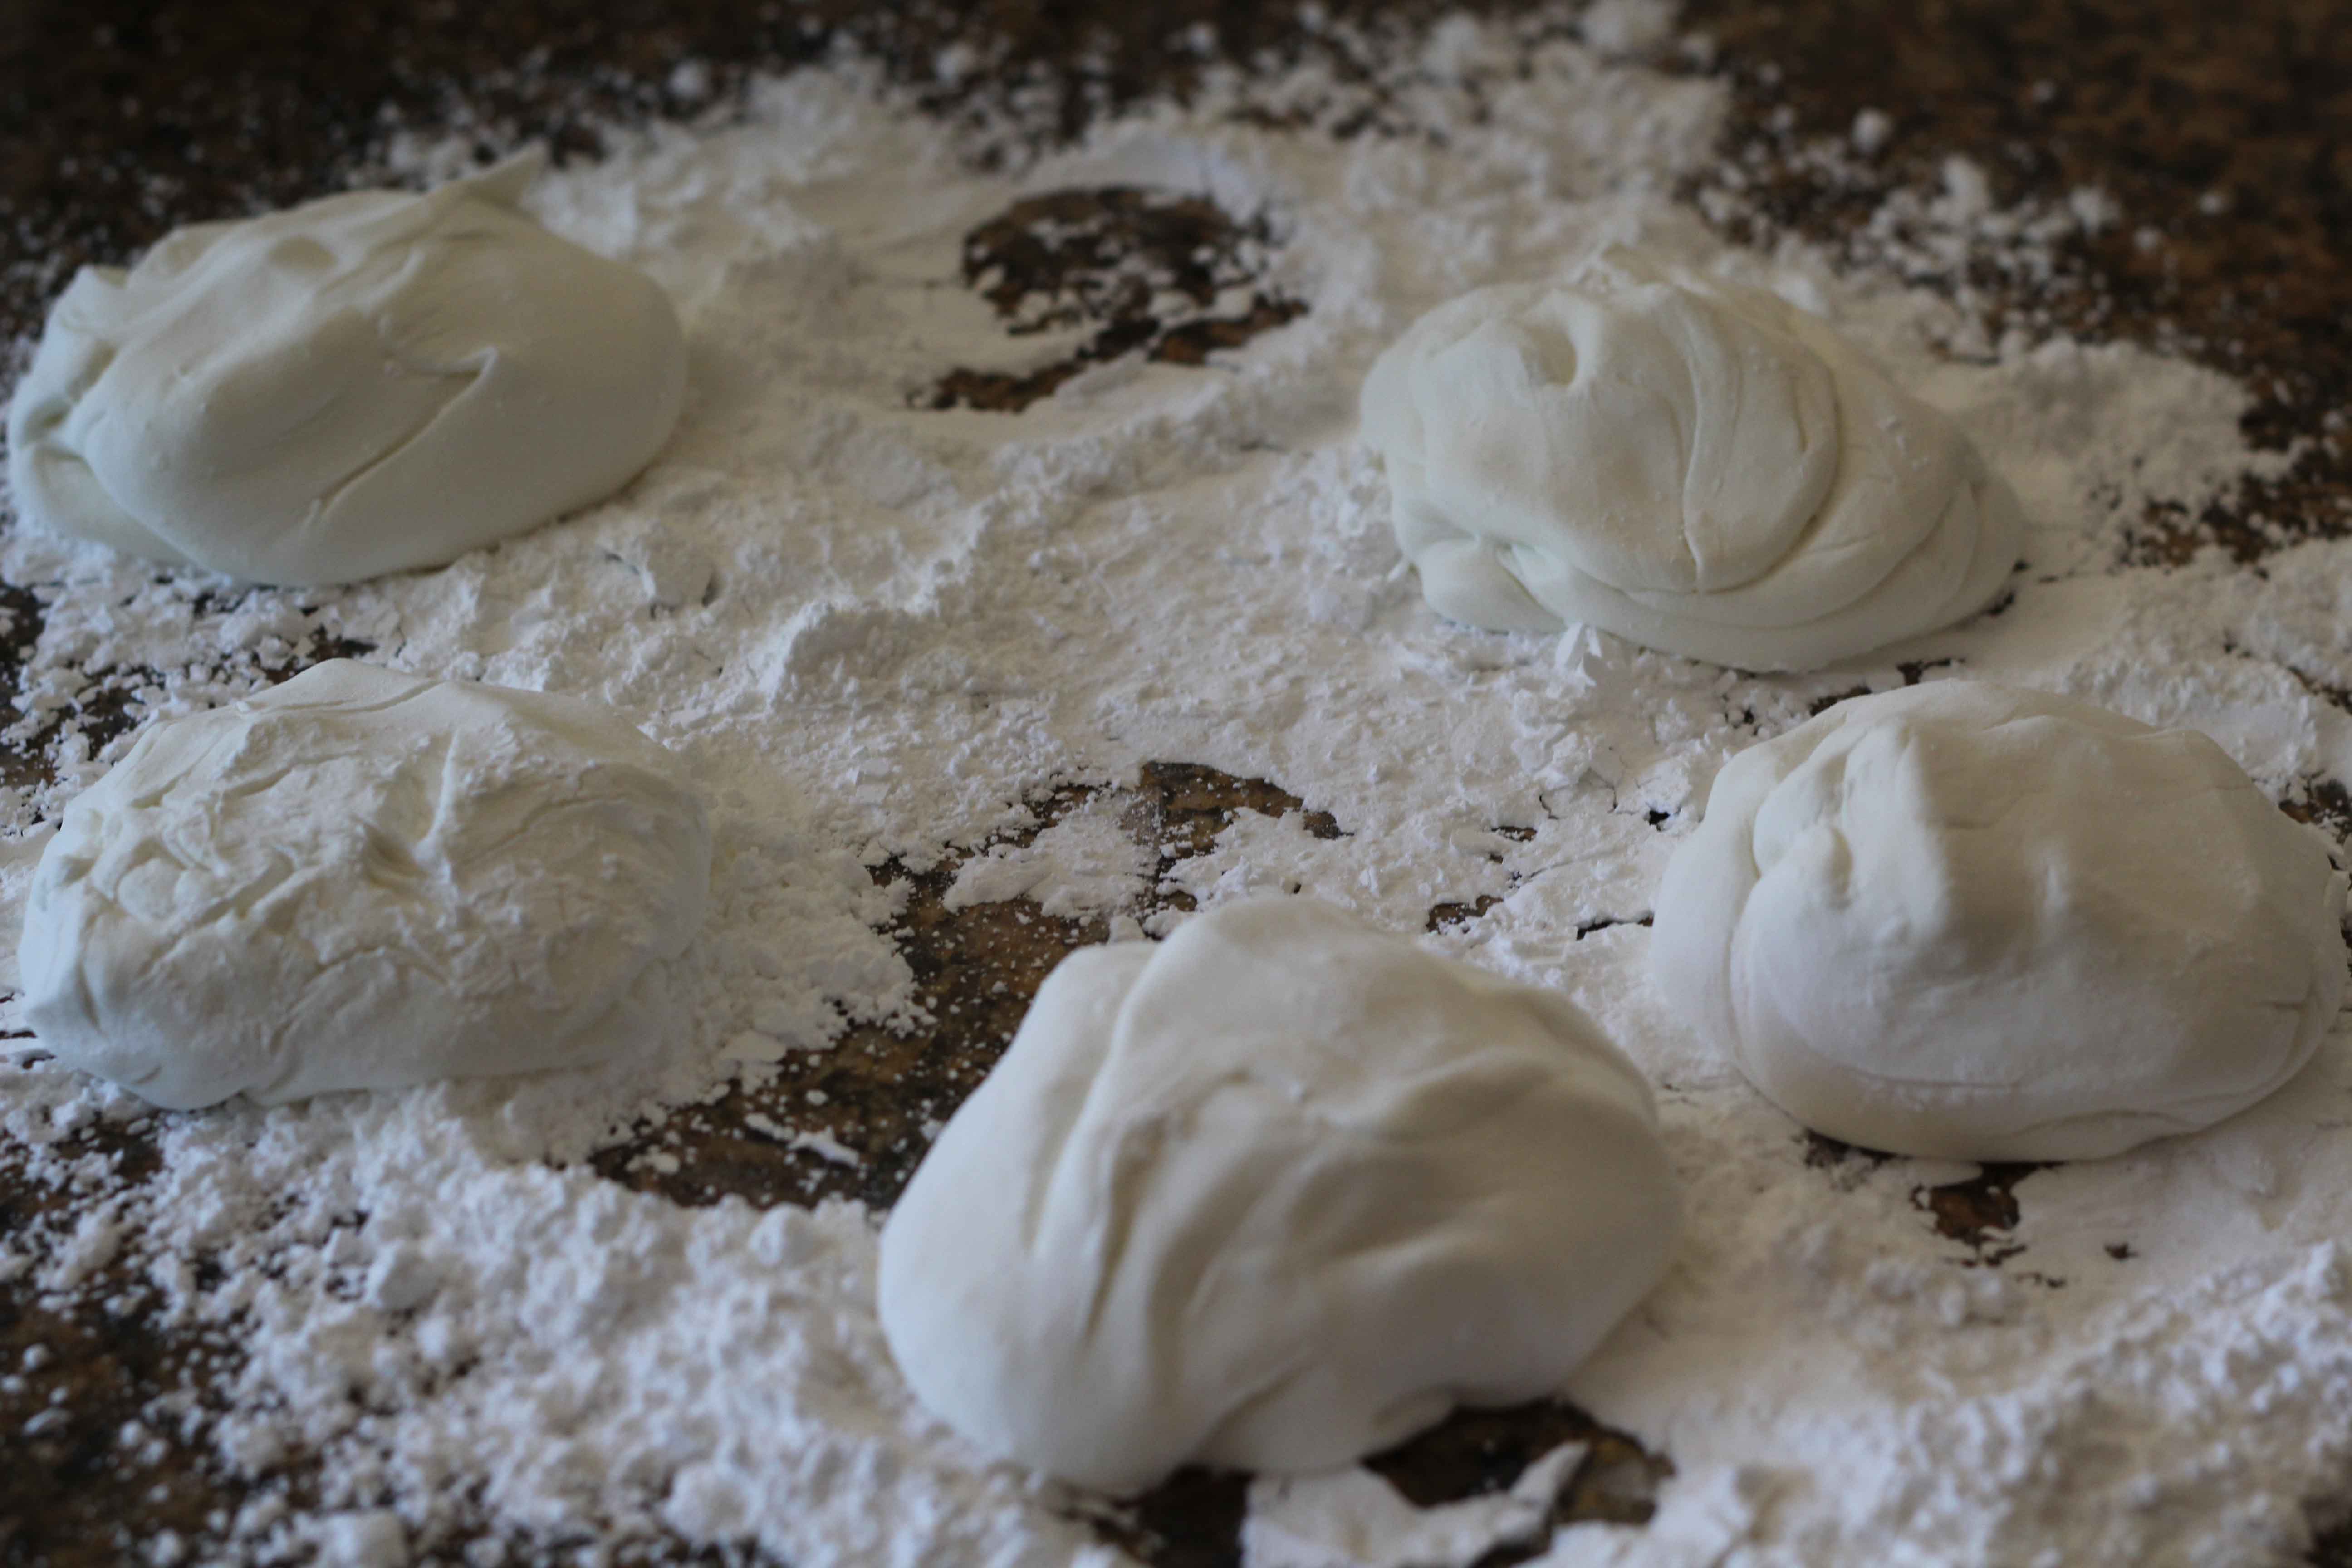
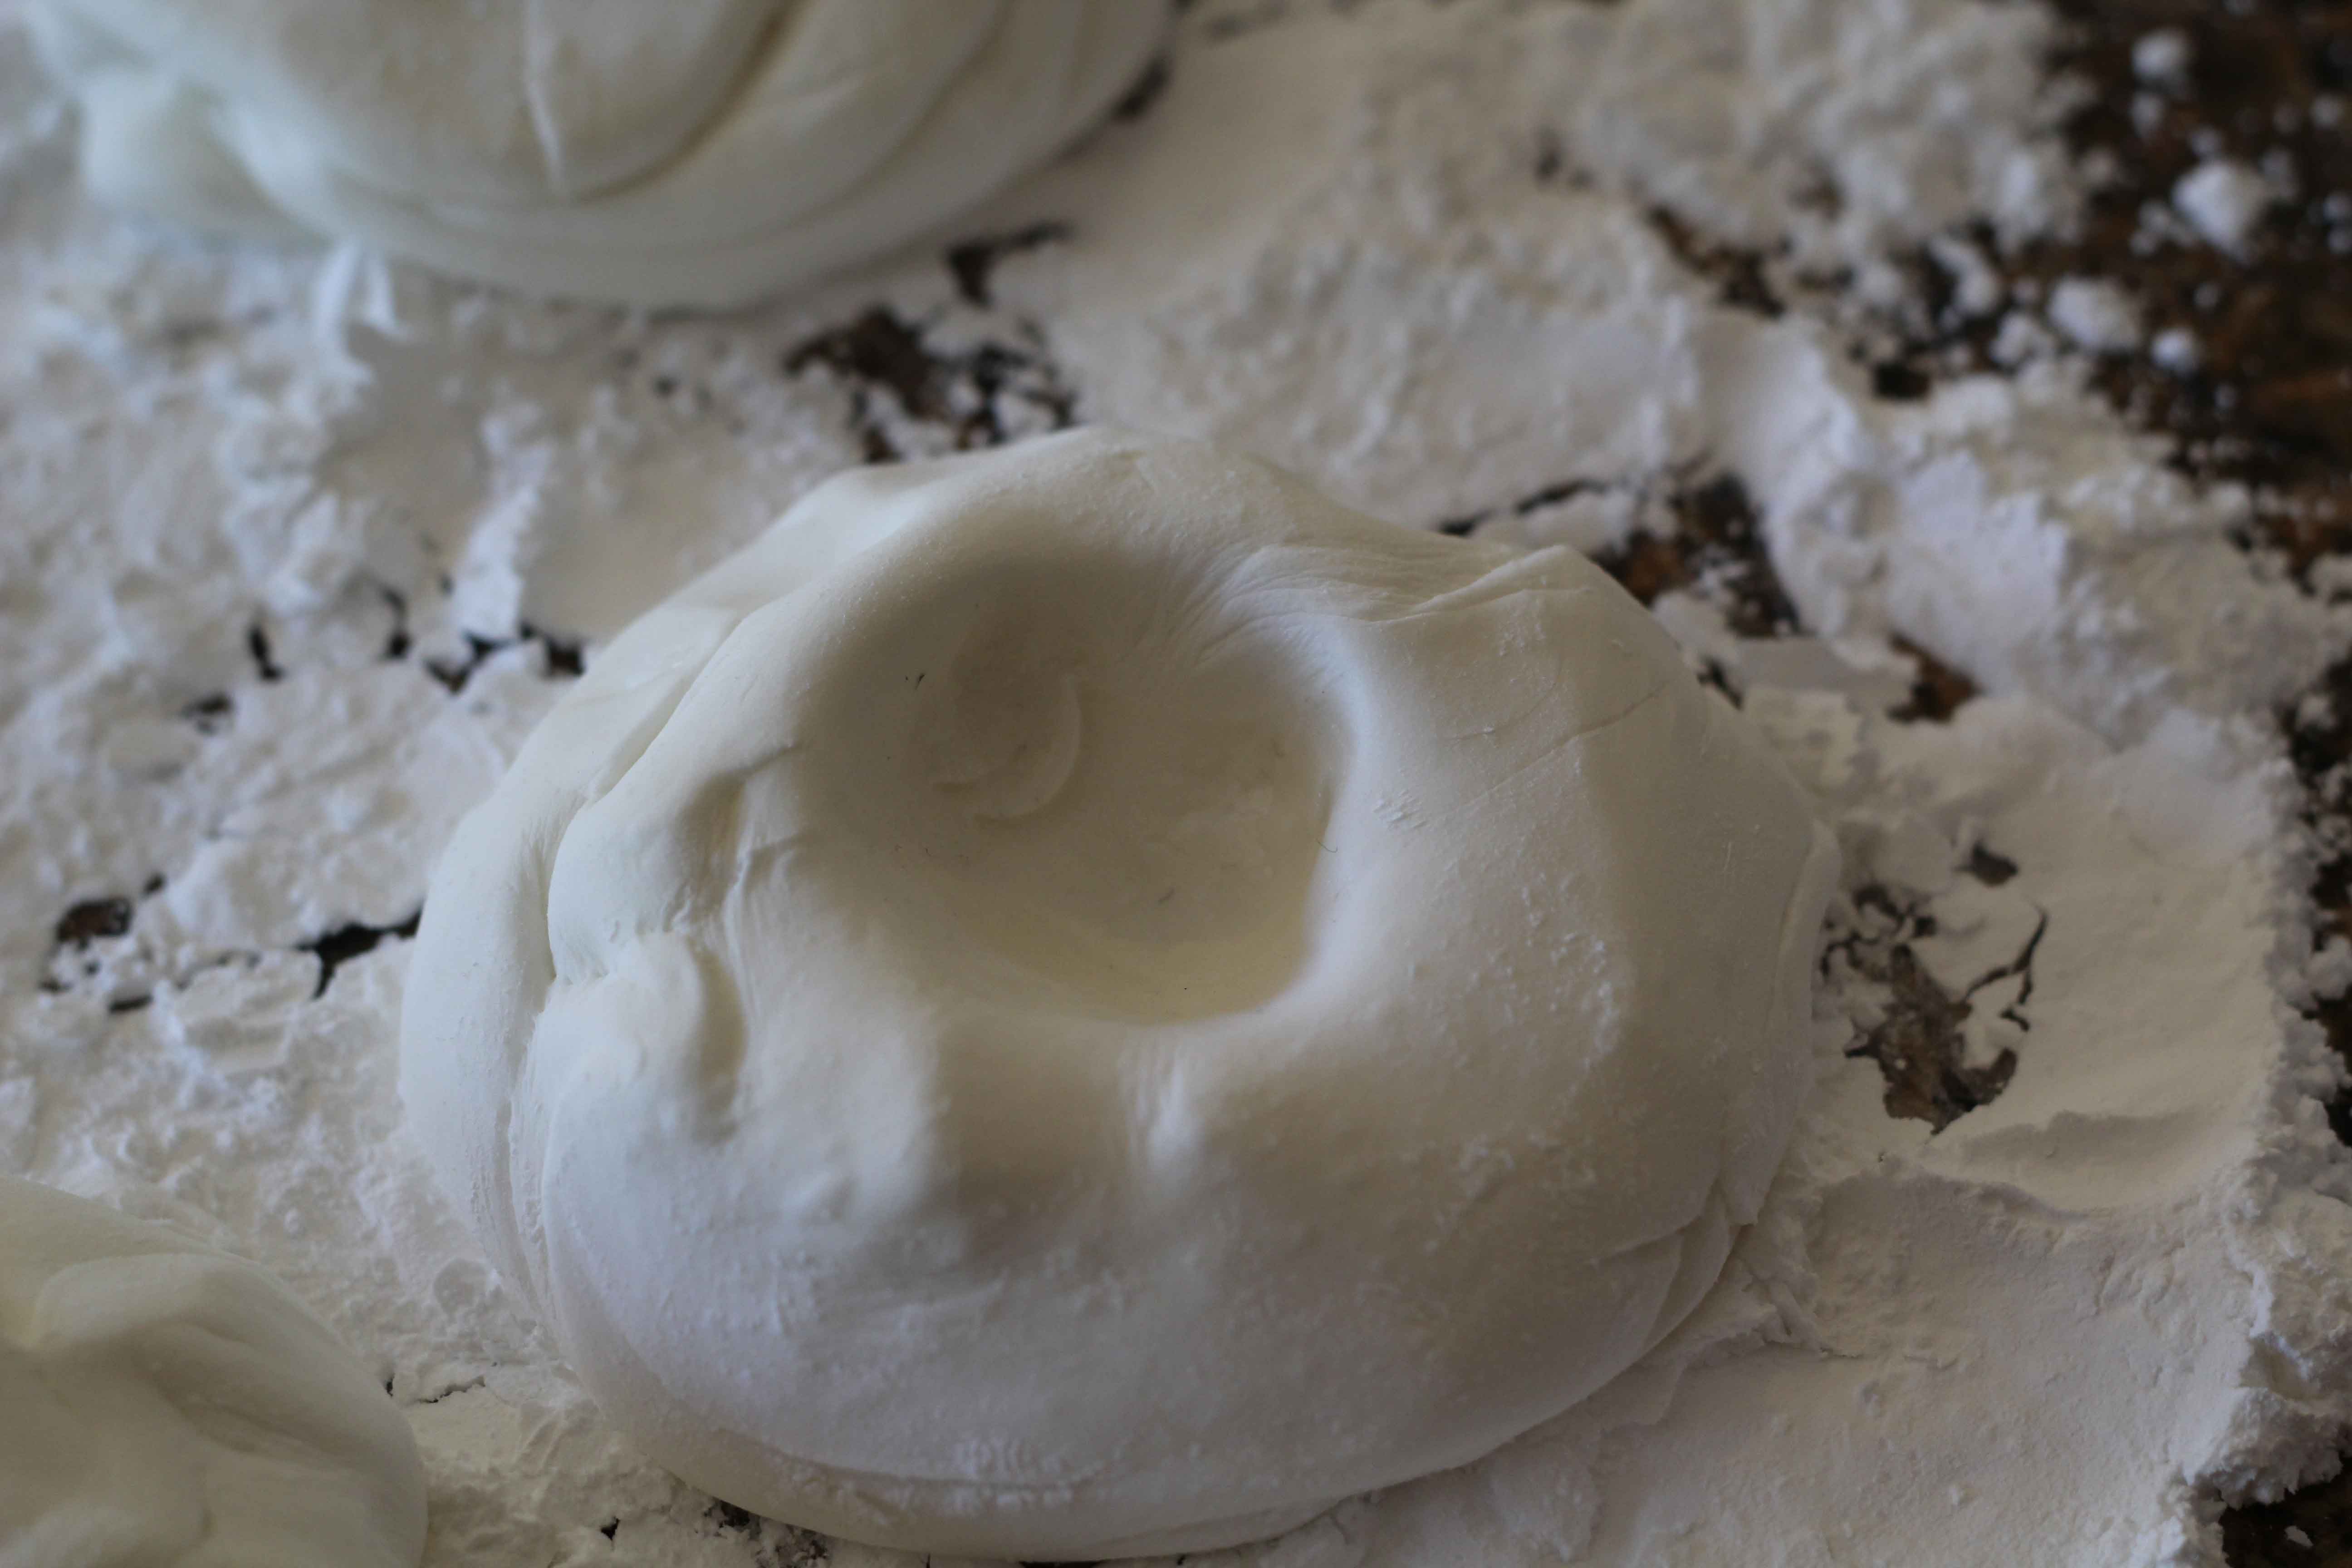
I divided my fondant into five small pieces.
I made a small indent where I could add my food coloring gel.
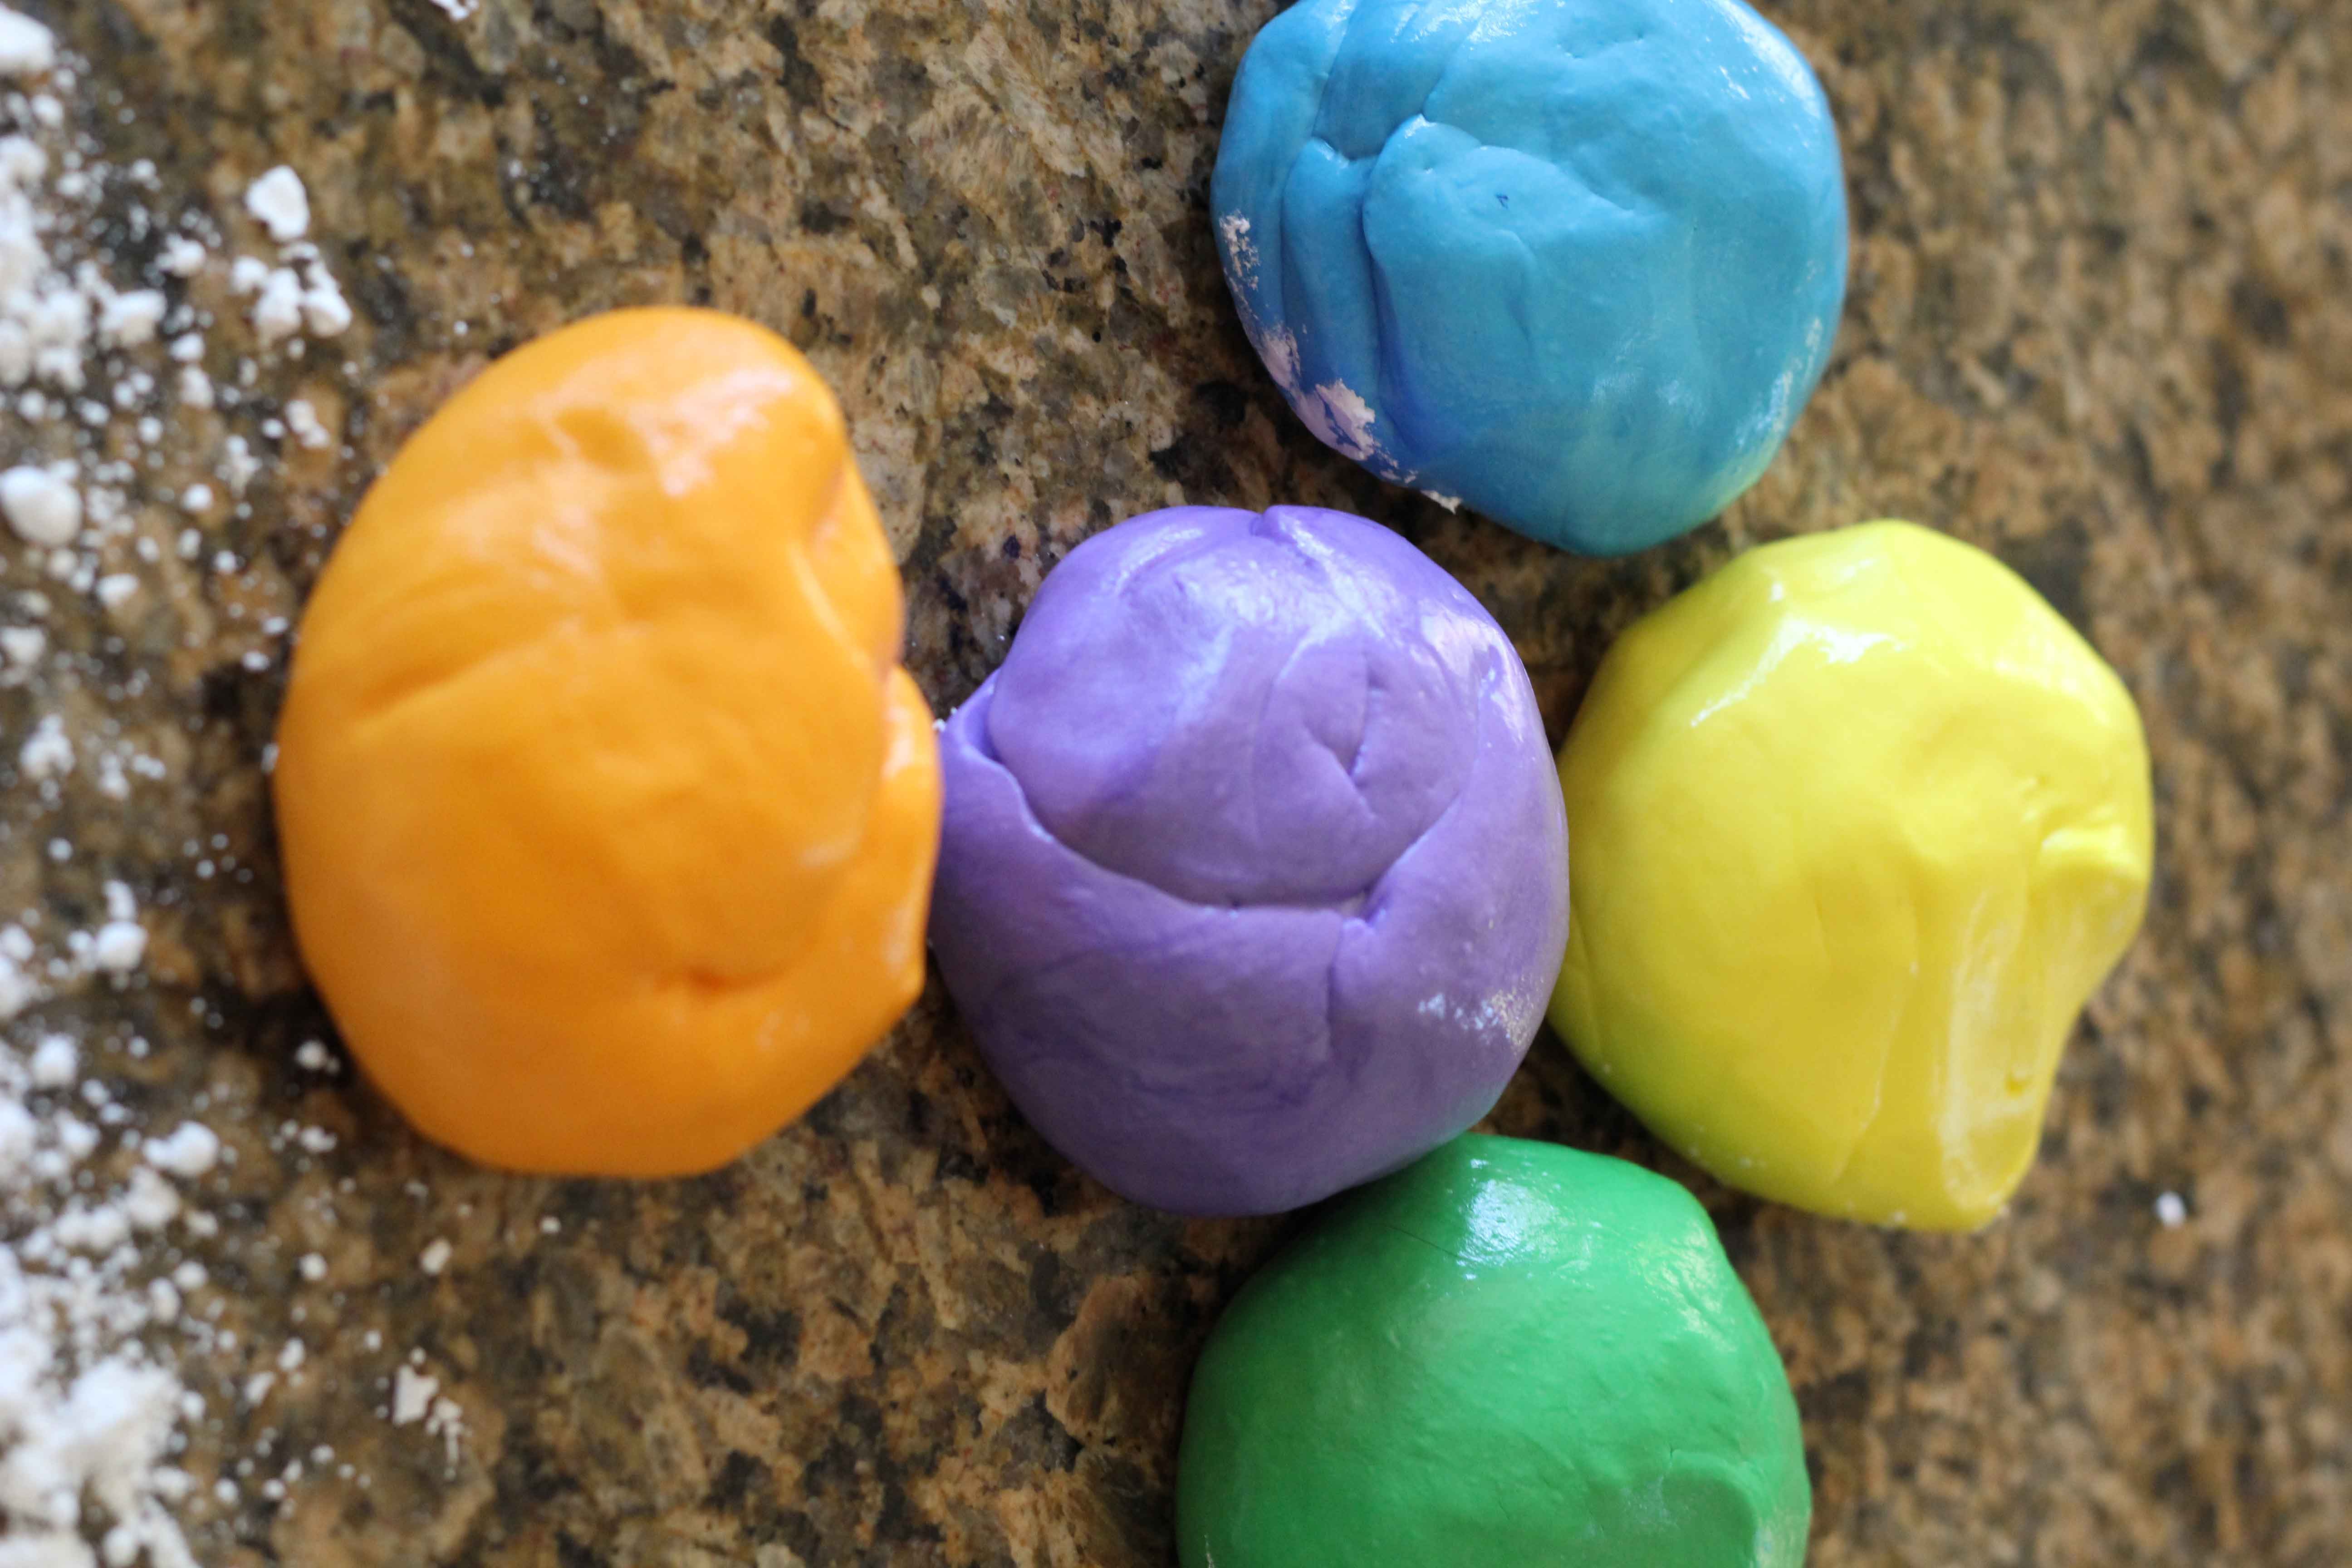
Coat your hand in shortening to prevent the fondant from sticking to your hands while kneading in the color. I added double the amount of food coloring you see in this picture to get the rich orange color.
Now that I had my fondant colored, it was time to decorate my cake! Time for my disclaimer....I've never decorated a cake with fondant before, or icing for that matter. I was a little nervous at this point about how my cake would turn out.
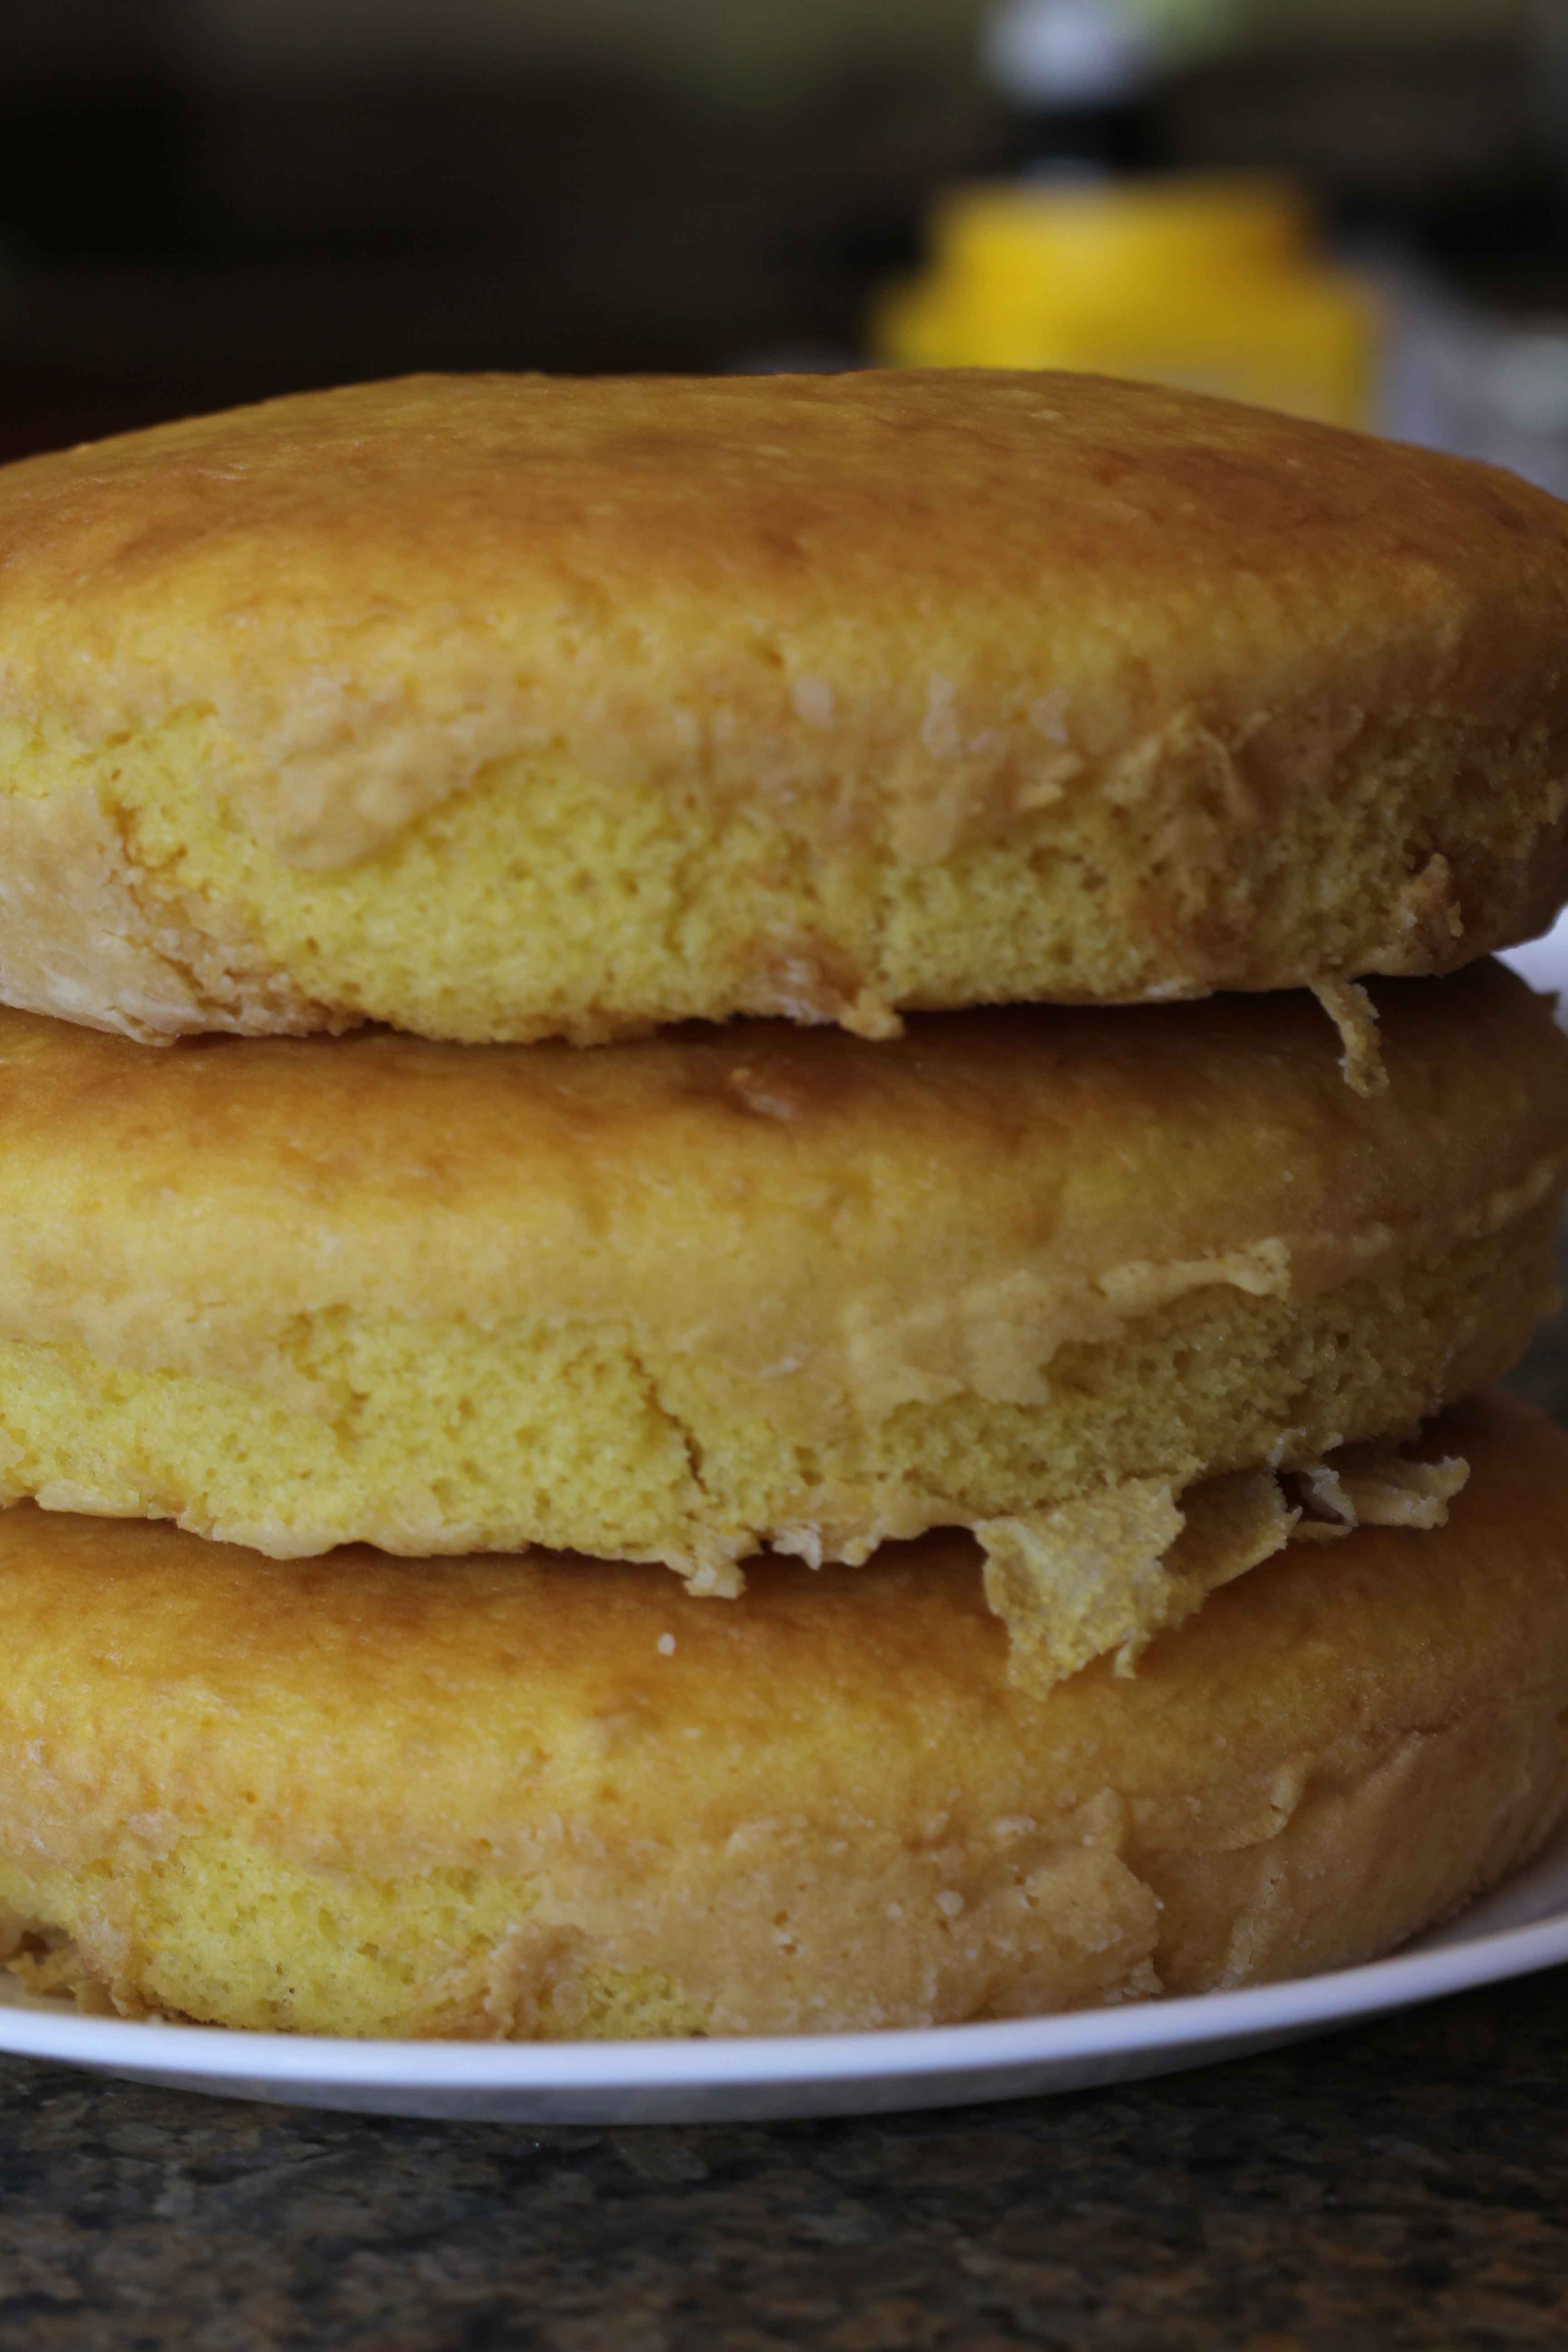
I made my cake in three layers, it turned out a little uneven. So I decided to "cut" it into a perfect symmetrical shape like Buddy does on Cake Boss. Ha, easier said than done! My cake is quite a bit smaller than when I started. I decided that this was close enough! I knew if I kept trying to get it perfect I was going to end up with a cupcake! It was time to roll out my fondant. Make sure your work surface is VERY clean.Then sift powdered sugar GENEROUSLY onto your work surface.You can knead in more powdered sugar if needed at this point. Then let your fondant sit until it is room temperature. This is the only time you can let it sit out without it drying out. When it is room temperature sprinkle more powdered sugar on top and roll it out.
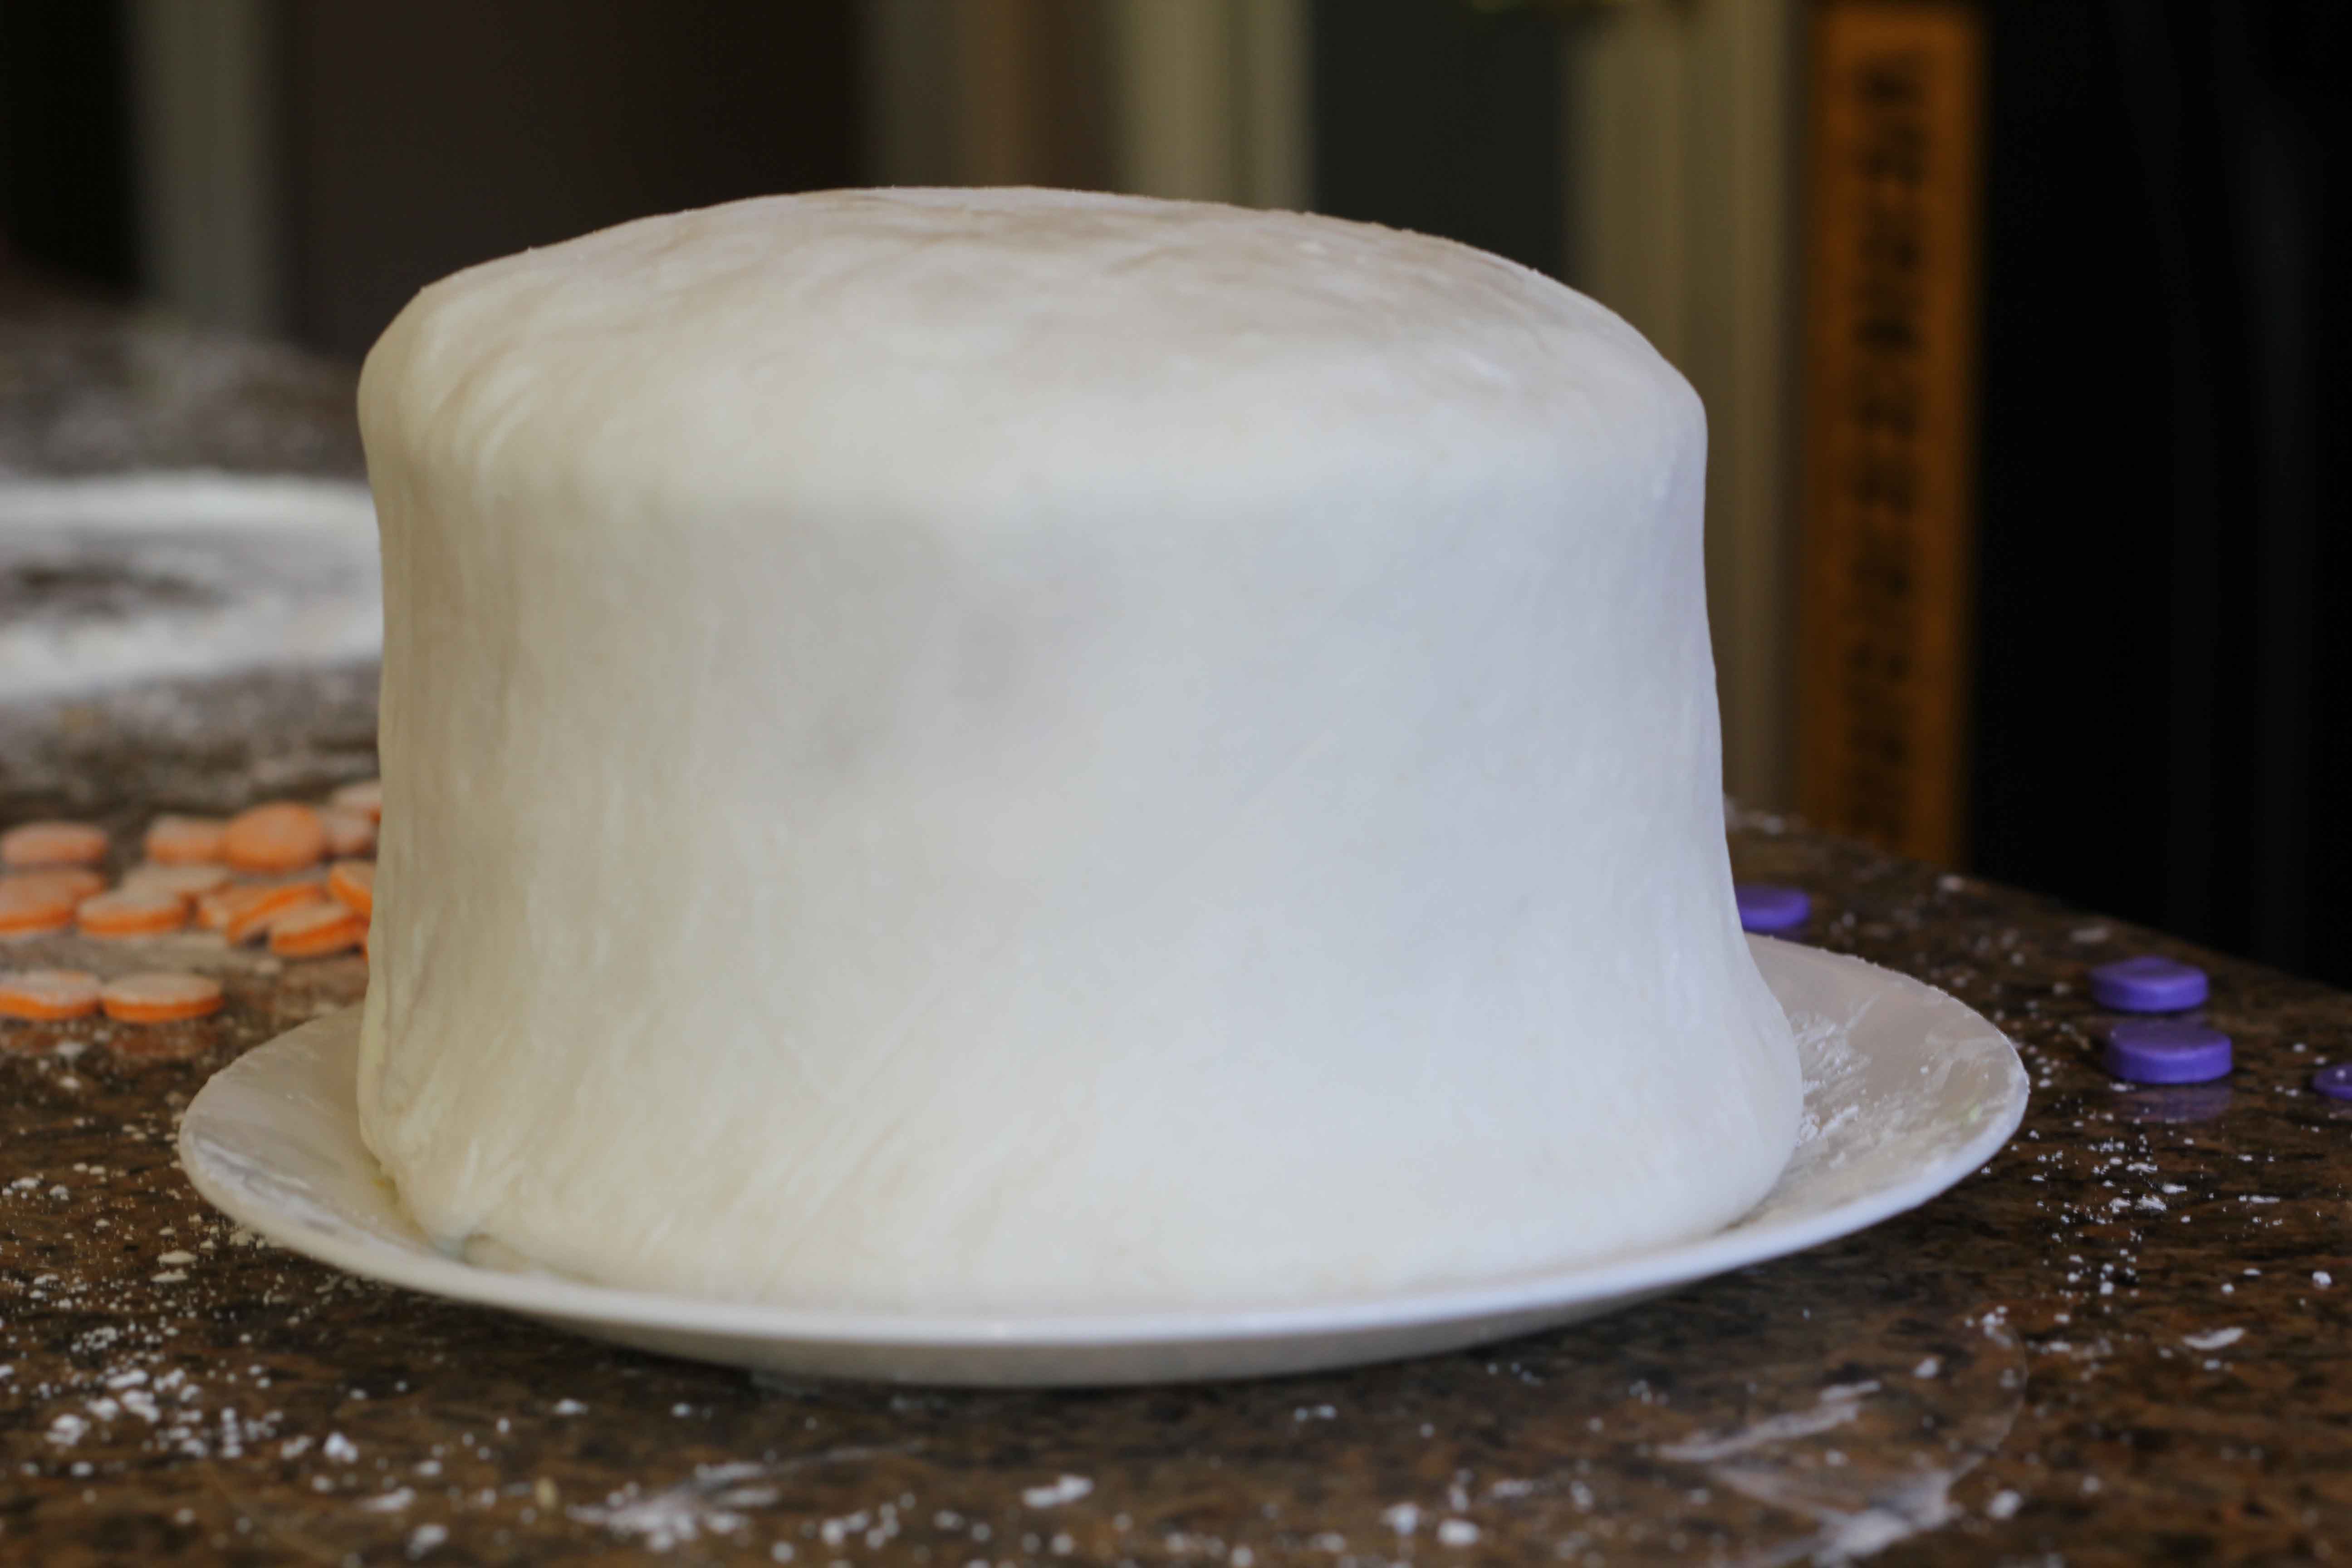
Pick it up carefully and place it over your cake. I made my circle as close to the size of the cake as possible to avoid extra fondant that would overlap and cause creases. Cut off the excess and you are ready to decorate.
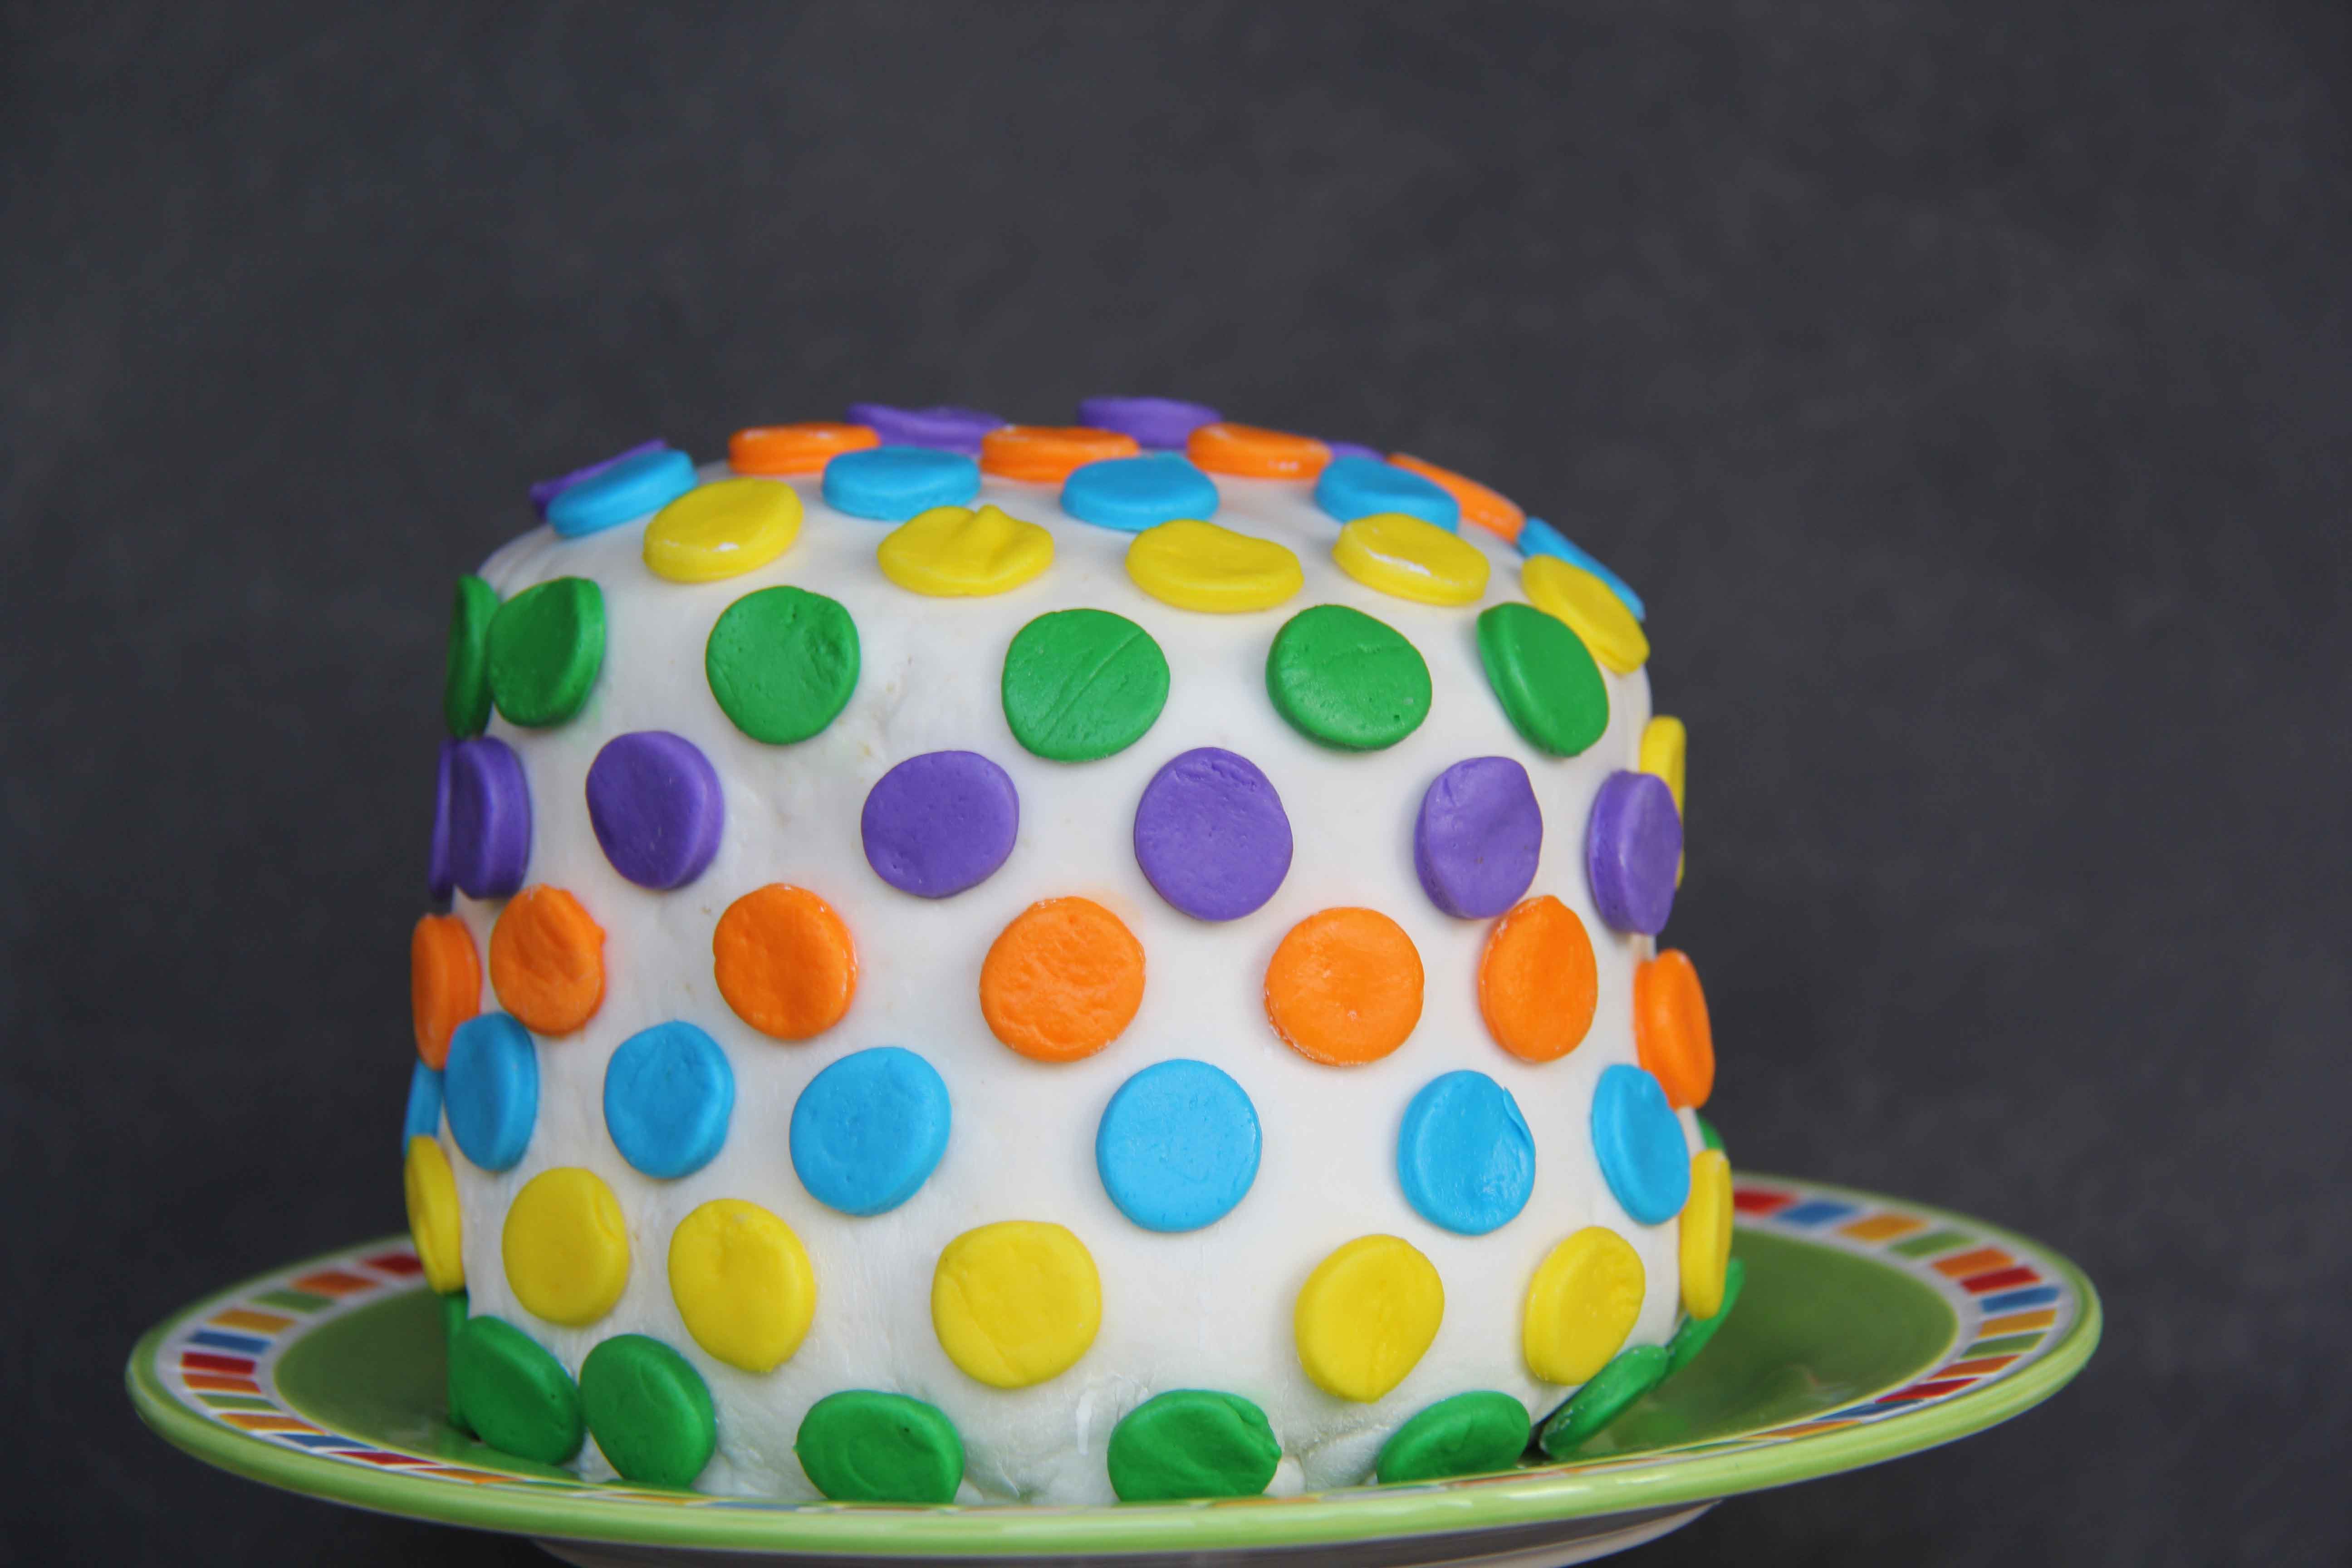
I decided to go with a very simple polka dot cake since I have absolutely no cake decorating skills. Please do not judge the results too harshly, as the fondant performed perfectly and the cake decorator did not! Definitely lack of skills on my part!
If you have extra fondant left over, roll it in a ball and cover with shortening. Then store it in a thick ziplock bag. (Freezer ziplock bags are best) It should stay soft for a week or so. I wanted to make sure that this fondant really works like it should, so I called a friend of mine who just happens to decorate cakes for a living. This is the exact recipe that she uses and loves. I asked her for a picture of a cake that demonstrates how well marshmallow fondant works in the hands of a true professional. Here is a picture of the darling cake she sent me!
Yup....This Pin totally ROCKS! Wouldn't it be fun if you could make a polka dot cake inside and out? Well, you can! Check out this tutorial for how to make polka dots on the inside of your cake.
Fondant Homemade Recipe
Recipe Type: Homemade Marshmallow Fondant
Author: Adapted by Made From Pinterest
Ingredients
1 bag mini Marshmallows
2 tsp water
3 tablespoons shortening
2 to 3 cups Powdered Sugar
Food coloring(s) of choice
Instructions
Sift powdered sugar and set aside. If your powder sugar is not sifted you will have lumps in your fondant.
Place 3 tablespoons of shortening in your mixing bowl or kitchen aid.
Place bag of mini marshmallow in a micro safe bowl. Sprinkle 2 tsp of water over marshmallows and mix to coat.
Microwave for 30 seconds and stir. Continue to microwave for 30 and and stir until Marshmallows are melted.
Pour melted Marshmallows over shortening, add one cup sifted powdered sugar. Mix until the Marshmallow mixture looks like icing; nice and soft. (If you want to add color you can do it now) If you are using multiple colors you can hand knead it in later.
Add more powdered sugar, adding a 1/2 cup at a time until it comes to a thicker, but not to thick consistency of fondant. You want it sticky but not to sticky.
Make sure your work surface is very clean, sprinkle generously with sifted powdered sugar. Use a spoon to scrape your fondant out of the bowl and place on the sugared work surface. Coat your hands with shortening if you need to knead more powdered sugar into your fondant. Or if you are going to hand knead in color.
Roll out your fondant to the shape you want, carefully transfer it to your cake.
Tips for a square/rectangle cake; do the corners first by forming them around the cake, then do the sides. Use a small roller to cut the excess fondant from the cake.
For a round cake, shape your fondant into a circle that is the same diameter as your cake. Cut off the excess fondant, tuck the edge of the fondant under to cake bottom.