Pages

.

Showing posts with label Guest Blogger. Show all posts

Ice Cream Dream Cake

We are so glad to be back with our friends at Mandy's Recipe box. I have a recipe that is perfect for a nice summer meal, but won't take much time in the kitchen. A little advanced prep and you will be ready to go! 


I like cheesey movies. Formulaic, cliche and predictable. One of my favorite scenes in thousands of cheesey movies is the girl who is a bit of a tomboy who gets dressed up for the dance. When she enters the room transformed, the boys turn and stare. They say, "Mary, is that you? You look ...different...beautiful." That is how I felt about this Ice Cream Dream Cake. I took one bite and said, ice cream sandwich, is that you? You taste...different...fancy...possibly gourmet.

Ice Cream Dream Cake @ MadeFromPinterest.net

What do you need to do to transform your humble ice cream sandwiches into Ice Cream Dream Cakes? It's just too simple! Layer them in a bread pan with whipped cream, top with chopped chocolate and freeze. Who couldn't do that? I am busy thinking of all the possibilities like cookies and cream or mint chip ice cream sandwiches. Don't tell anyone it is made with ice cream sandwiches, and see if they recognize them on their own!

Ice Cream Dream Cake at MadeFromPinterest.net

This recipe appropriately comes from Real Simple, and that is exactly what this is!


Ice Cream Dream Cake
Author: Adapted from Real Simple

Ingredients
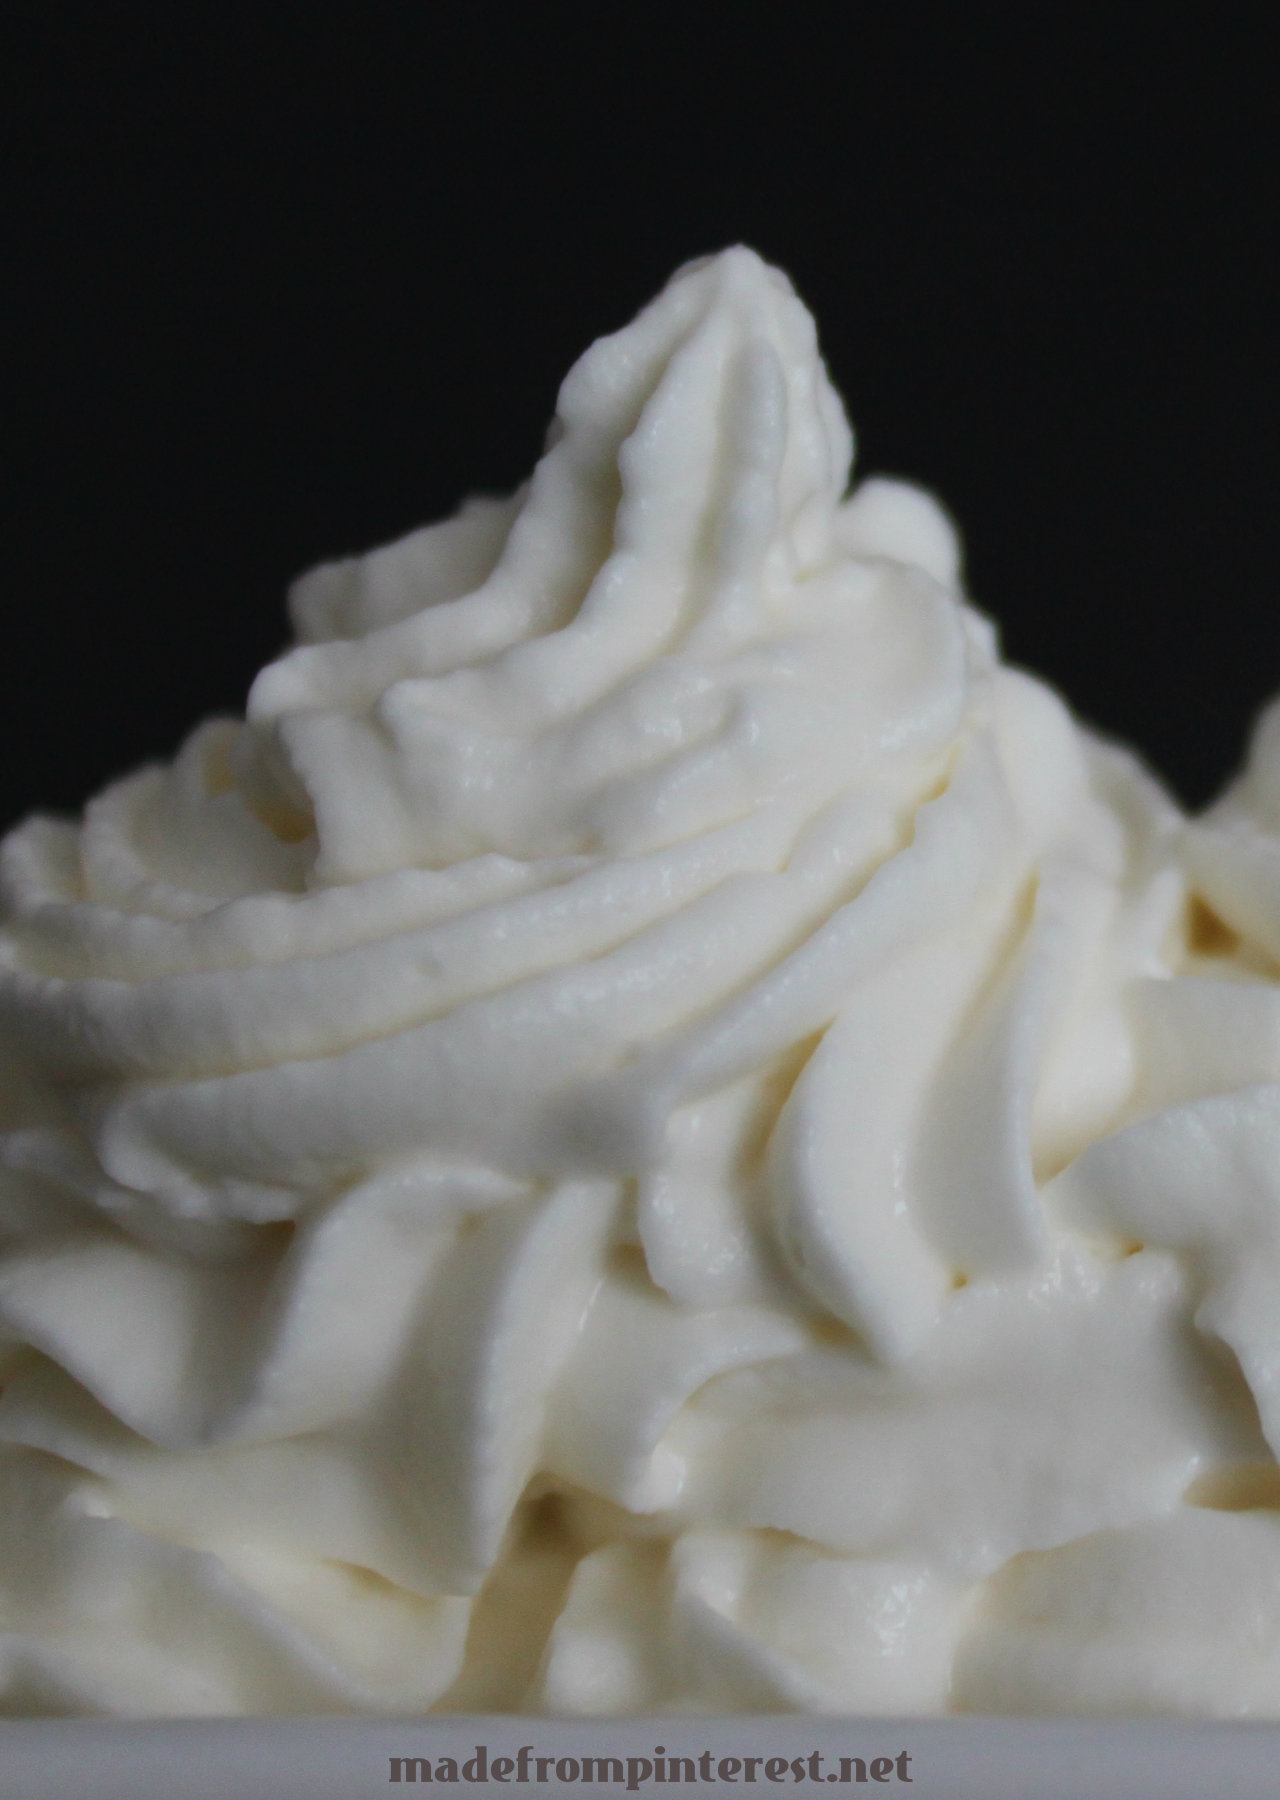
  • 1 cup heavy cream whipped to peaks with 2 tablespoons confectioners' sugar
  • 6 ice cream sandwiches (3.5 ounces each)
  • 1/2 cup chocolate chips, chopped - I used Hershey Kisses
Instructions
  1. Line an 8½-by-4½-inch loaf pan with a piece of wax paper or parchment, allowing the paper to hang over both long sides.
  2. In the bottom of the pan, arrange 3 of the sandwiches in a single layer, cutting them to fit as necessary. Spread with half the whipped cream. Repeat with the remaining sandwiches and whipped cream.
  3. Sprinkle the top of the cake with the chopped chocolate chips or Hershey's Kissses. Cover with plastic wrap and freeze until firm, at least 1 hour and up to 1 week.
  4. Holding both sides of the paper overhang, lift the cake out of the pan and transfer to a platter. Discard the paper and serve.
Notes
Next time I will pipe the whipped cream on the top layer for an even more beautiful presentation!
For whipped cream that holds it's shape try our Stabilized Whipped Cream. We found a simple secret that makes it lasts for weeks. Bet you won't guess what it is!

Stabilized whipped cream for perfect peaks that last for a week from madefrompinterest.net

            Here are a few other posts great for summer! Mango Sorbet and Mango Strawberry Daiquiri Pops.

Mango Sorbet recipe at MadeFromPinterest.net

Mango Strawberry Daiquiri Pops from MadeFromPinterest.net
                 
   Thank you Mandy for having us on your blog again! We love to share with your readers and make new internet friends.

reade more... Résuméabuiyad

Healthy Chocolate Banana Pancakes

I have the gals from Made From Pinterest here again!

Hope everyone had a great 4th of July weekend! We are glad to be back and share this great idea for breakfast with you.
Is there such a thing as Healthy Chocolate Banana Pancakes that actually taste good? What if they are also gluten free? Would you be willing to give them a try, or run to your pantry and grab a box of Bisquick instead? Before going GF, Bisquick was the only pancake mix we used, my kids were raised on the stuff. Then we went GF and the quest for a decent GF pancake began! There are a lot of options out there, many of them require using 3 or 4 different GF flours and end up costing a small fortune. Then a friend of my daughter's told me about this recipe, it sounded so good I thought I would give them a try!


This is the pin that caught my eye, but it is the chocolate recipe from Busy Girl Healthy LIfe that did me in! It gets even better, no fancy pants ingredients, just oatmeal, egg whites, cottage cheese, banana, cocoa powder and low cal sweetener. I already had all the ingredients in the house so no trip to the store for special items. I love it when that happens!

ChocolateBananaPancakesTopWEB

Take all your ingredients and place them in your magic bullet, Blendtec or regular blender. Mix until smooth and pour into a greased heated pan. You can really go wild and use coconut oil to grease your pan for an extra light tropical flavor! Not only does coconut oil add a wonderful flavor it is also cholesterol-free and rich in medium-chain fats. I use organic cold-pressed coconut oil because it is not refined, deodorized or bleached and is free of pesticides, FMO's and hexane.

ChocolateBananaPancakesTopWEB

Top these guys with some bananas, walnuts, syrup flavor of your choice and you have an awesome breakfast that will fuel you for hours. Or if you are like our family we like to make breakfast for dinner. Add Sherri's Heaping Hash Browns and everyone's tummies will be full until morning!

ChocolateBananaPancakesTopWEB
 
Eat them in the morning or at night either way......
This Pin Rocks!
Signature Large
Healthy Chocolate Banana Pancakes
Author: Adapted by Made from Pinterest

Ingredients
  • 4 egg whites
  • 1/2 c. oatmeal
  • 1/2 banana
  • 1/4 c. cottage cheese
  • 4 packets no calorie sweetener
  • 2 T. cocoa powder
  • (add 2 T. pecans or walnuts if desired)
Toppings
  • Nuts
  • Fruit
  • Powdered Sugar
  • Syrup
Instructions
  1. Place egg whites, oatmeal, cottage cheese, sweetener, cocoa powder and nuts into a magic bullet or blender.
  2. Blend until all ingredients are smooth. Pour into a heated greased pan, cook until bubbles appear on top of pancake. Flip and cook the other side.
  3. Best when served warm.
reade more... Résuméabuiyad

DIY Marshmallow Fondant {Guest Post: Made From Pinterest}

I am a monthly contributor over at Made From Pinterest.  Be sure to go check out my recent post here. In return, I am happy to have the ladies from Made From Pinterest here each month. Enough talk, here they are...

Hello! Debbie, Sherri and I are tickled to be here with you every month.
We are three sisters who make and create the things that we pin from Pinterest and then share our results with you! Some of the pins we make "Rock" and some of them are a "Flop". Our blog helps us to actually make and enjoy what we find on Pinterest, but it also helps us stay in touch with each other. We all live in different parts of the United States. We love that we can work together even though we live far apart. Besides blogging and Pinterest we love spending time together as a family whenever possible. Between the three of us we have 10 children, 2 grandchildren and another Grandchild due any day! On to our post from Tracy today.


One of my families favorite shows happens to be Cake Boss. My 16 year old daughter is the one who got us started watching it during season 2. The only thing that she doesn't like about the show is how everyone on the show pronounces the word fondant. According to my daughter and Merriam-Webster it is pronounced "fond" (like I am fond of you) and "ant" like the bug. The show pronounces it "fond-daunt". My daughter pronounces it fondent. As long as it looks and tastes good I don't care how you pronounce it! My first try working with fondant was a sheet I purchased at Michaels. It must have been close to the expiration date because it was dry and difficult to work with. I knew there had to be a better way. I found this marshmallow fondant from Traylor Made Treats and decided try the homemade route!

MFondantWIP2WEBLOGO


Ingredients 
Fondant Homemade Recipe

First you need to put 3 Tbsp. of shortening in your mixer. Second you need to sift your powdered sugar. As you can see I don't own a sifter, so I made do with this big pasta spoon and it worked just fine. This insures that your powdered sugar will not have lumps. If you do not sift the powdered sugar you will have a lumpy fondant.

Fondant Homemade Recipe


  Next step is to sprinkle 2 tsp of water on your marshmallows and mix until all your marshmallows have some water on them.

Fondant Homemade Recipe

Now it is time to put the marshmallows in your microwave for 30 seconds at a time. Stir and then place them back in the microwave for another 30 seconds. Repeat this process until your marshmallows are melted. Once your marshmallows have melted, place them in the mixer with the shortening, add 1 cup sifted powdered sugar and mix on medium speed until the shortening and powdered sugar are incorporated. Keep mixing until the marshmallow mixture looks like icing: nice and soft (if you want to add color, you can do it now.). If you need to make multiple colors you can do it by hand kneading the color in later. Continue to add powdered sugar 1/2 cup at a time until it becomes thicker, but not too thick a consistency of fondant. It should be sticky, but not too sticky.

Fondant Homemade Recipe


Fondant Homemade Recipe 

 I divided my fondant into five small pieces.

Fondant Homemade Recipe 

I made a small indent where I could add my food coloring gel. 

Fondant Homemade Recipe

Coat your hand in shortening to prevent the fondant from sticking to your hands while kneading in the color. I added double the amount of food coloring you see in this picture to get the rich orange color.

Fondant Homemade Recipe

Now that I had my fondant colored, it was time to decorate my cake! Time for my disclaimer....I've never decorated a cake with fondant before, or icing for that matter. I was a little nervous at this point about how my cake would turn out.

Fondant Homemade Recipe 


Fondant Homemade Recipe

 I made my cake in three layers, it turned out a little uneven. So I decided to "cut" it into a perfect symmetrical shape like Buddy does on Cake Boss. Ha, easier said than done! My cake is quite a bit smaller than when I started. I decided that this was close enough! I knew if I kept trying to get it perfect I was going to end up with a cupcake! It was time to roll out my fondant. Make sure your work surface is VERY clean. Then sift powdered sugar GENEROUSLY onto your work surface. You can knead in more powdered sugar if needed at this point. Then let your fondant sit until it is room temperature. This is the only time you can let it sit out without it drying out. When it is room temperature sprinkle more powdered sugar on top and roll it out.

Fondant Homemade Recipe

Pick it up carefully and place it over your cake. I made my circle as close to the size of the cake as possible to avoid extra fondant that would overlap and cause creases. Cut off the excess and you are ready to decorate. 

Fondant Homemade Recipe

I decided to go with a very simple polka dot cake since I have absolutely no cake decorating skills. Please do not judge the results too harshly, as the fondant performed perfectly and the cake decorator did not! Definitely lack of skills on my part!

Fondant Homemade Recipe 

 If you have extra fondant left over, roll it in a ball and cover with shortening. Then store it in a thick ziplock bag. (Freezer ziplock bags are best) It should stay soft for a week or so. I wanted to make sure that this fondant really works like it should, so I called a friend of mine who just happens to decorate cakes for a living. This is the exact recipe that she uses and loves. I asked her for a picture of a cake that demonstrates how well marshmallow fondant works in the hands of a true professional. Here is a picture of the darling cake she sent me!

Homemade Marshmallow Fondant  
Yup....This Pin totally ROCKS! Wouldn't it be fun if you could make a polka dot cake inside and out? Well, you can! Check out this tutorial for how to make polka dots on the inside of your cake.


Fondant Homemade Recipe
Recipe Type: Homemade Marshmallow Fondant
Author: Adapted by Made From Pinterest
Ingredients
  • 1 bag mini Marshmallows
  • 2 tsp water
  • 3 tablespoons shortening
  • 2 to 3 cups Powdered Sugar
  • Food coloring(s) of choice
Instructions
  1. Sift powdered sugar and set aside. If your powder sugar is not sifted you will have lumps in your fondant.
  2. Place 3 tablespoons of shortening in your mixing bowl or kitchen aid.
  3. Place bag of mini marshmallow in a micro safe bowl. Sprinkle 2 tsp of water over marshmallows and mix to coat.
  4. Microwave for 30 seconds and stir. Continue to microwave for 30 and and stir until Marshmallows are melted.
  5. Pour melted Marshmallows over shortening, add one cup sifted powdered sugar. Mix until the Marshmallow mixture looks like icing; nice and soft. (If you want to add color you can do it now) If you are using multiple colors you can hand knead it in later.
  6. Add more powdered sugar, adding a 1/2 cup at a time until it comes to a thicker, but not to thick consistency of fondant. You want it sticky but not to sticky.
  7. Make sure your work surface is very clean, sprinkle generously with sifted powdered sugar. Use a spoon to scrape your fondant out of the bowl and place on the sugared work surface. Coat your hands with shortening if you need to knead more powdered sugar into your fondant. Or if you are going to hand knead in color.
  8. Roll out your fondant to the shape you want, carefully transfer it to your cake.
  9. Tips for a square/rectangle cake; do the corners first by forming them around the cake, then do the sides. Use a small roller to cut the excess fondant from the cake.
  10. For a round cake, shape your fondant into a circle that is the same diameter as your cake. Cut off the excess fondant, tuck the edge of the fondant under to cake bottom.

reade more... Résuméabuiyad

Very Vanilla French Toast


Hi guys! I'm Christy from The Girl Who Ate Everything and I'm known for eating anything and everything in my path. I'm here today so Mandy can spend some extra time snuggling her new baby. There's nothing better in this world than holding a brand new baby. Nothing!

My friend insisted that I try her recipe for French toast and I thought to myself, "What's so different about this French toast? I mean everyone has a recipe for French toast, right?"
But THIS French toast has an entire 1/4 cup of vanilla in the coating sauce. So when it's cooked it kind of tastes like...a donut...in French toast form.


Serve it with a sprinkle of powdered sugar and some syrup but you don't really need any of that at all. Enjoy!

very-vanilla-french-toast-top

Ingredients
6 eggs
1/2 cup sugar
1/2 teaspoon cinnamon
 1/4 cup vanilla (yes, CUP!)
1 1/2 teaspoons almond extract
1 cup heavy cream
 thick sliced bread

Directions

  •  Mix the eggs, sugar, cinnamon, vanilla, almond extract, and cream well. 
  •  Dip each slice in the mixture coating each side and lay in a pan. 
  • Repeat with the remaining slices. 
  • Let bread sit overnight. 
  • In the morning, cook on grill or skillet with some butter, browning on both sides. 
  •  Serve with a sprinkle of powdered sugar and maple syrup.
reade more... Résuméabuiyad

Cookies N' Cream Muddy Buddies


Hello Mandy's Recipe Box readers!  I am Alyssa and I blog over at The Recipe Critic.  I have two cute boys and a handsome hubby that help me to rate and review all of the recipes that we try.  I met Mandy through her awesome link parties that she has.  It has been so fun getting to know Mandy through the blogging world.   I am dying over how cute and sweet her new little baby is!  What a fun time for her to take a little time to enjoy that new little baby of hers and I am so thrilled to be over here today.


 I have a slight addiction with Muddy Buddies.  I have quite a few different variations on my blog, and my obsession is no secret.  Even when I am trying to watch what I eat, I had to try a 'skinny' version so that I could still get my fix.  Every time I try a different spin on Muddy Buddies, I think that they are the best that I have made.

But this cookies and cream version of them... wow!  They were a huge hit!  The tiny crushed oreos to coat the outside of the chocolate made them taste amazing!  These are an easy and fun snack that the whole family will love.  And if you haven't tried muddy buddies before, then join me in my addiction!  I might even be eating some as I am typing this. hehe  Look at them.  They are just screaming out, 'Eat me!'


Ingredients:
  • 5 ounces white chocolate chips
  • 5 ounces milk chocolate chips
  • 5 cups Chex Cereal
  • 1 tsp shortening
  • Oreo cookies (8 for crushing and some for putting pieces throughout)
  • 1 cup powdered sugar
1. Divide the chex cereal into two bowl.  2 1/2 cups in each.  
2.  In a food processor crush 8 oreos until fine.  You can also crush in a gallon size bag with rolling pin.  
3.  In two gallon size bags, add 1/2 cup powdered sugar into each bag with 1/2 of the crushed oreos into each bag. (It was about 1/2 cup of crushed oreos.)  Set aside.
4.  Melt the white chocolate and milk chocolate in separate microwave safe bowls.   Melt 30 seconds at a time with 1/2 tsp shortening in each stirring after each 30 seconds until melted.  
5.  Once melted, stir in the chocolate into the separate bowls with Chex cereal until the Chex are coated well with the chocolate.
6.  Add the white chocolate and milk chocolate separately to the gallon sized bags with powdered sugar and crushed oreos and shake until they are coated.  Then add some extra crushed pieces to the mixture at the end.  Enjoy!

Thanks again Mandy for having me over to your place!  Have so much fun holding and enjoying that adorable little boy of yours!  

I would love for you to stay connected with The Recipe Critic!

reade more... Résuméabuiyad

Chocolate Cupcakes with OREO Buttercream


 Hello foodie friends! I'm Holly from the food blog Life as a Lofthouse! I am so stoked to be here today, while Mandy takes care of her new little bundle of joy! When she asked me to guest post for her I was more than happy to oblige. 


  I had to think hard about what recipe I was going to share today. Mandy's blog is filled with all sorts of deliciousness, so I did not want to disappoint her awesome readers.
I decided to go with...
 Chocolate Cupcakes with OREO Buttercream!
 Mmmmm! So. good.
  I made these cupcakes for my son's second birthday party last year, and they were a HUGE hit! If you're an Oreo lover these cupcakes are for you! Even if you're not an Oreo fan (which I haven't met one yet) these cupcakes are for you! They are creamy, dreamy, Oreo heaven!
  Just try not to eat all the Oreo buttercream before you frost the cupcakes... like I almost did  : /


Ingredients
Hershey's 'Perfectly Chocolate' Cupcakes:


2 cups sugar
1-3/4 cups all-purpose flour
3/4 cup cocoa

1-1/2 teaspoons baking powder
1-1/2 teaspoons baking soda
1 teaspoon salt
2 eggs
1 cup milk
1/2 cup vegetable oil
2 teaspoons vanilla extract
1 cup boiling water


Oreo Buttercream:

1 cup unsalted butter, room temperature
2 teaspoons vanilla extract
3 Tablespoons milk or heavy cream

4 cups powdered sugar
16 Oreos, finely crushed (I used my food processor)


DIRECTIONS (Cupcakes): 
  • Heat oven to 350 degrees. 
  • Line 30 muffin cups with paper bake cups, set aside.
  • Stir together sugar, flour, cocoa, baking powder, baking soda and salt in a large bowl. 
  • Add eggs, milk, oil and vanilla; beat on medium speed for 2 minutes. 
  • Stir in boiling water (batter will be thin) 
  • Fill cups 2/3 full with batter. 
  • Bake 20-22 minutes, or until tooth-pick insterted comes out clean. 
  • Cool cupcakes completely before frosting.
DIRECTIONS (Frosting): 
  • In a large bowl cream butter, vanilla and milk.
  •  Slowly add in powdered sugar until creamy and fluffy. 
  • Mix in crushed Oreos until well combined. 
  • Frost cupcakes!


You can like Life as a Lofthouse on Facebook.
reade more... Résuméabuiyad

Fudgiest Ever Brownies {Guest Blogger: Something Swanky}

Hi there! I'm Ashton from Something Swanky


I'm so excited to be over here at Mandy's today!! Especially since it's kind of like helping out with the baby.... and I loooooove helping out with babies!

And since I'm a complete stranger, this is about as close as I get to actually helping out with the baby ;) So, I'll take it!

My baby is almost 3, and she's just the best little helper in the kitchen. She loves to bake with me and, of course, lick the spoon! She'll eat dough and batter all day long, but funny enough, she doesn't really like brownies or cookies. I think it's a texture thing-- she doesn't like chunks. And I put "chunks" in EVERYTHING.

More for me, I say!

These brownies are INSANELY delicious. They've been my go-to brownies for years, and you can do SO much with them! While I recently discovered Browned Butter Brownies, and I have to admit they rival these, nothing beats out a classic. And these Fudgiest Ever Brownies will always have my heart :)

Enjoy!


Fudgiest Ever Brownies
Recipe Source: Hershey's

Ingredients:
  • 2 1/4 cup all-purpose baking flour
  • 2/3 cup Hershey's cocoa
  • 1 tsp baking powder
  • 1 tsp salt
  • 3/4 cup butter, melted
  • 2 1/2 cups sugar
  • 2 tsp vanilla
  • 4 eggs
  • 2 cups chocolate chips or chunks (or Hershey's baking melts)

Directions:
  1. Preheat oven to 350º. Grease a 9x13 baking dish.
  2. Mix together dry ingredients. 
  3. In the bowl of a stand mixer, cream together the butter and sugar. Add the eggs one at a time, mixing in between each addition. Add vanilla.
  4. Mix in the dry ingredients (including the chocolate chips).
  5. Pour into the baking dish and bake for 30-35 minutes until brownies begin to pull away from sides of the pan.

Connect with me at these cool places:
reade more... Résuméabuiyad

Lemon Cake Mix Cookies {Guest Blogger: Crazy For Crust}


Well hello everyone! This is Dorothy, from Crazy for Crust.


 I'm so excited to be here at Mandy's house today, because that means she's off having her baby! What a sweet time for her family, I'm so happy for them!

Mandy and I met awhile ago, I think through her Totally Tasty Tuesdays linky party. And since then, I've fallen in love with all of her delicious food and her photos. I mean, every time I look at her site I'm drooling, really. How can you look at her Heavenly Oreo Dessert or her Little Caesar's Breadsticks and not drool? Go on, try it. I dare you!

Anyway, you might ask me: why are you called Crazy for Crust when you brought cookies to Mandy's for the day? Well, that's a good point. I do love crust, but I love other things too. Like brownies, cakes, pie, and sugar in general.

And, lately anyway, you may say I'm Crazy for Lemon. I've made fudge, sweet rolls, and ice cream just since Christmas. And, I have a gazillion more recipes lined up. So, yeah. Crazy for Lemons should be my new name.


You might look at these and say, duh Dorothy. Lemon Cake Mix cookies. Just buy a box of lemon cake mix and I can do that! Well, um, no. These are different!

I used a regular old yellow cake mix for these - so they have a distinct cake battery flavor. Then I added Meyer lemon juice and zest to them. Have you ever had Meyer lemons? The smell is intoxicating. But if you only have regular lemons, that's fine too. These will be perfectly lemony no matter which lemon you use.

This is a small batch of cookie. It uses part of a cake mix - and makes less cookies, just over a dozen. So you can eat the whole batch and not feel guilty! It's a win-win!

And then there's the white chocolate. Lemon and white chocolate go together like Mork and Mindy, Rachel and Ross, and peanut butter and chocolate. They are the perfect match!

Combined, all these things (lemon, white chocolate, and cake mix) mix up to a delicious cookie, sweet and a teeny bit tart from the lemon. They are one of my favorites!


Kind of like Mandy. :)

Congrats on your new addition Mandy! I hope that you're all doing well and sleeping through the night already. xo

Come visit me over at Crazy for Crust sometime. I'll make you some crust, I promise. And some blondies. And ice cream. Oh, and if you didn't already figure it out, I'll talk your ear off too. ;)

Connect with me:

Lemon White Chocolate Cake Mix Cookies
by Dorothy @ CrazyforCrust.com

1 3/4 cups yellow cake mix
1/4 cup vegetable oil
1 large egg
1 tablespoon lemon zest
2 tablespoons lemon juice
(Both zest and juice were from 1 large Meyer lemon - with smaller lemons you may need 2!)
1 tablespoon flour
1/2 cup white chocolate chips

  1. Preheat oven to 350 degrees. Line a cookie sheet with parchment paper.
  2. Add cake mix, oil, and egg to a large bowl. Stir to combine. Add lemon juice, zest, and flour and stir until the mixture comes together. Stir in white chocolate chips.
  3. Chill your dough for at least 30 minutes before baking.
  4. Scoop tablespoons of dough (I used a 2-tablespoon cookie scoop) onto your cookie sheet. Bake 8-10 minutes until they just start to brown on the bottom. Cool 10 minutes before removing from cookie sheet.

Enjoy!
reade more... Résuméabuiyad

Banana Orange Bread {Guest Blogger: Back For Seconds}


Stephanie Back For Seconds

Hi everyone, I'm Stephanie from Back For Seconds! I am so happy to be here with you while Mandy is taking some time off to enjoy her brand new baby. I am the official recipe developer, baker, photographer, and author of Back For Seconds.
I am mama to a little girl and twin baby boys and am lucky to be married to quite a hunk ;) I am addicted to chocolate and sparkles and love to make new friends - get to know me better here and shoot me an email! I love hearing from you! Mandy is so talented in the kitchen. I have tried some of her recipes and they have all been wonderful! She's such a sweetie too, I'm just thrilled she invited me to come share with you today! This recipe is one of my favorites. The bread is so moist and has such a bright flavor! With or without the glaze, this bread was a huge hit in our house! It's so easy to throw together and if you make it the night before it's a quick thing to grab in those groggy hours after waking. I hope you enjoy it as much as we do!

  Banana Orange Bread by Back For Seconds  #breakfast #quickbread #banana #orange #glaze

Banana Orange Breadby: Back For Seconds
  • 1 1/4 cup flour
  • 1 cup sugar
  • 1/2 tsp salt
  • 1 tsp baking soda
  • 1/2 cup softened butter
  • 1 large ripe banana
  • 1/4 cup fresh orange juice
  • 2 tsp orange zest
  • 2 eggs
  • 1 tsp vanilla
In a large bowl mix together the dry ingredients with the butter until crumbly. In another bowl mix together the wet ingredients. Blend the two mixtures together until smooth. Pour into greased loaf pan and bake at 350* for 50-60 min or until toothpick comes out clean. Let cool in pan for 15 minutes and then remove and cool on wire rack. When ready to serve pour the glaze over bread.
Orange Vanilla Glaze
  • 1 cup powdered sugar
  • 1 tsp vanilla
  • 2-4 Tbs fresh orange juice
  • 1 tsp orange zest
Mix ingredients together until desired consistency is reached. Pour over bread when ready to eat or store in the refrigerator.
*****************************************************

I would be tickled pink to have you follow Back for Seconds! Here's where you can find me:

Facebook/Pinterest/Twitter/Google+/Blog Lovin/Instagram/RSS

Want more breakfast ideas?
Chocolate Marshmallow Pancakes with Cocoa Maple Syrup #breakfast #pancakes #chocolate #marshmallow #maple
Elvis Muffins backforsecondsblog.com
Skinny Nutella Cinnamon Banana Swirl Bread @BackForSeconds backforsecondsblog.com
Thanks so much for having me, Mandy! Enjoy that precious baby!! xoxo
reade more... Résuméabuiyad

Guest Post: Couponing.com

I have a guest post today for you. Now that the holidays are over, it's time to get back on track with our budgets. If you stuck to one through the holidays, good for you! Rock on. If not, this post is for you. And for those continuing on a budget.

Couponing
Cooking During (or after) the Holidays on a Budget
This guest post was written by James Lander of the couponing site, Couponing. The site focuses on providing couponing techniques and tips, alongside top retailer coupons.
The holidays are a time to indulge, a short and precious period when it feels right letting yourself get what you want, do what you want, and eat what you want. But indulging isn’t cheap—in fact, with all the wild spending that goes on during the holiday season, sometimes it can be hard to lose track of your expenses and go a little overboard. You’re bank account might be depleted but the holidays continue on. Here are some tips for maintaining control and cooking on a budget for the rest of the holiday season.

Expand your pantry for less! – With these eight ingredients (together under $25) you can seriously expand the baking possibilities of your kitchen and add a little nutritional value to your recipes (average prices):

Walnuts $4.49
Pecans $2.99
Oatmeal $2.65
Flaked sweetened coconut $2.19
Unsweetened baking chocolate $2.39
Semisweet chocolate baking chips $1.79
Unsweetened cocoa powder $2.79
Seedless raspberry jam $4.99

Total: $24.28

Try a fun and easy recipe like these oatmeal, chocolate chip, and pecan cookies, and find more recipes on cookinglight.com:
Ingredients
  • 1 1/4 cups all-purpose flour (about 5 1/2 ounces)
  • 1 cup regular oats
  • 3/4 teaspoon baking powder
  • 1/2 teaspoon baking soda
  • 1/2 teaspoon salt
  • 3/4 cup granulated sugar
  • 1/2 cup packed brown sugar
  • 1/3 cup butter, softened
  • 1 1/2 teaspoons vanilla extract
  • 1 large egg
  • 1/4 cup chopped pecans, toasted
  • 1/4 cup semisweet chocolate mini-chips
Preparation
  1. Preheat oven to 350°.
  2. Lightly spoon flour into dry measuring cups; level with a knife. Combine flour and next 4 ingredients (through salt), stirring with a whisk; set aside.
  3. Place sugars and butter in a large bowl; beat with a mixer at medium speed until well blended. Add vanilla and egg; beat until blended. Gradually add flour mixture, beating at low speed just until combined. Stir in pecans and mini-chips. Drop dough by tablespoonfuls 2 inches apart onto baking sheets lined with parchment paper. Bake at 350° for 12 minutes or until edges of cookies are lightly browned. Cool on pans 2 minutes. Remove cookies from pans; cool on wire racks.
Keep it simple—but don’t be afraid to get creative! – Holiday cooking can be as easy as opening a few jars and putting the contents together, provided you know which jars to open. Try this recipe for pumpkin mousse, a low-fat and low-cost alternative to pumpkin pie:

Ingredients
· 1 package of sugar-free butterscotch pudding mix
· 1 can of pumpkin
Preparation
1. Combine pudding mix and pumpkin with a splash of milk to create desired consistency. Layer with low-fat whipped topping in clear glass bowl for presentation.
Or go for some super-simple, kid-friendly snacks like these edible snowmen:
Ingredients
· 1 box Ritz crackers
· 1 container low-fat cream cheese
· Tiny slices of carrots, apples
· 1 box raisins
Preparation
1. Each child should get 3 Ritz crackers, approximately 2 tablespoons of cream cheese, and a small pile of sliced fruits, veggies and raisins.
2. Spread cream cheese over all 3 crackers. Decorate using available foods.

Make healthy substitutions – Modify your budget baking with these healthier replacements—cut down on expenses and the notorious sugars and fats of holiday cooking!
· Use whole wheat flour—if you’ve never baked with it before, start by replacing half the all-purpose flour called for in the recipe with whole wheat
· Cut down on sugar, add more fruit (but don’t drop below half the amount of sugar called for)
· Replace saturated fats (butter, shortening) with unsaturated fats (olive oil, canola oil)
· Substitute applesauce for oil at a ratio of 1/3 cup for ½ cup—good for muffins and breads, not as effective in cookies
In general, don’t be afraid of switching out ingredients for lighter or more cost-effective alternatives—take control and have a healthy and affordable new year!

Photobucket
reade more... Résuméabuiyad